IN THIS ARTICLE
- Granting licenses via the control panel provided by $$BrandName$$
- Managing user roles and licenses in Microsoft 365
Granting licenses via the control panel provided by $$BrandName$$
After creating users via the control panel provided by $$BrandName$$, you can assign licenses to them.
Follow these steps in the control panel provided by $$BrandName$$
- Go to “My Products” > “Microsoft 365” (and select your tenant if you have more than one).
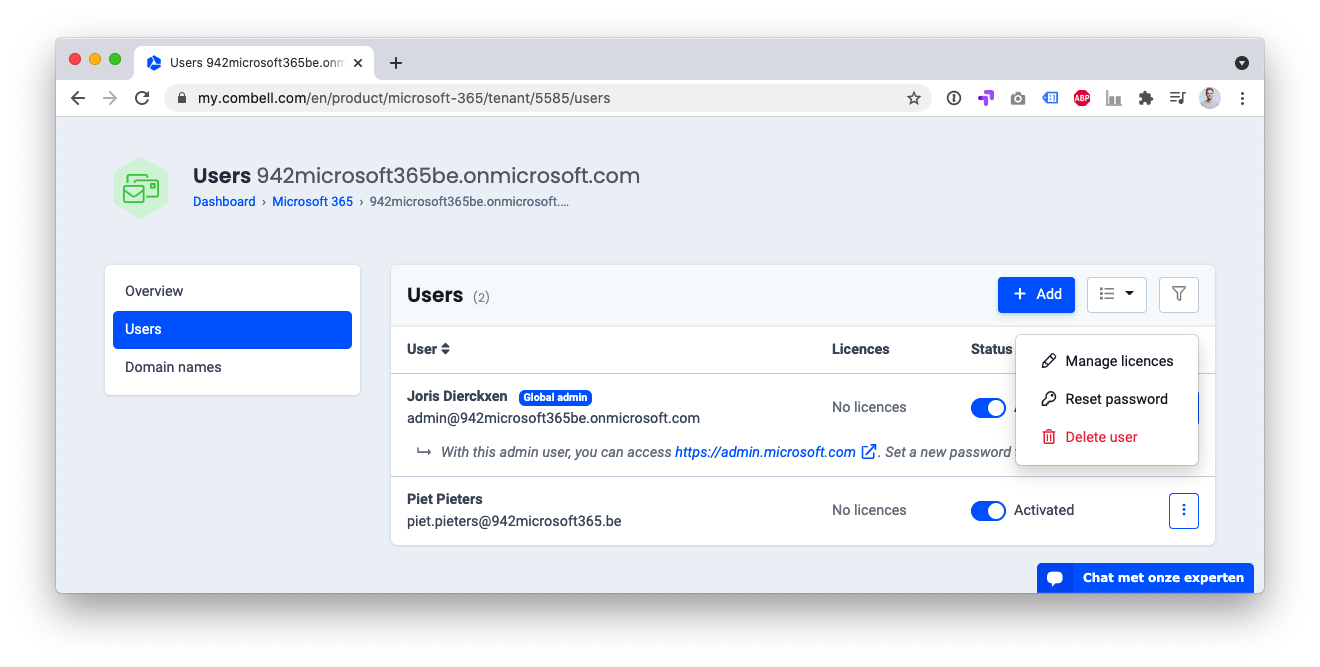
- Select “Users” from the menu on the left.
- Click on the button with three dots to the right of the user and select “Manage Licenses”.
- Now click on “Grant license”.
- Select the desired license from the drop-down menu and confirm.
Managing user roles and licenses in Microsoft 365
If you want to change the role of a user, his or her license, his or her contact details, etc., simply follow these steps:
- Log in to https://admin.microsoft.com as an administrator
- Select “Users” > “Active users”
- Select the desired user.
- To change the license, select the “Licenses and apps” tab in the pop-up. Make the necessary changes and confirm by clicking “Save changes”
- To change the role, select the “Account” tab in the pop-up for the “Roles” option. Assign the user a specific role, or change the role that has already been assigned. The most commonly used roles are:
- Exchange Admin: this user can manage Exchange Online, but also create and manage groups
- User admin: resets passwords for users, manages all the features for users and groups
- Global Reader: can read but not change all admin features and settings
- Global admin: has unlimited access to all admin features, such as assigning, purchasing and deleting licenses, deleting an account, etc.
- Helpdesk technician: can reset passwords and manage service requests
- For further information about Admin roles, please visit the Microsoft website.
- Click “Close” to finish
Learn more on the Microsoft website: The difference between subscriptions and licenses