After ordering your Microsoft 365 (Office 365) package with the necessary licenses, you have to make sure that your collaborators can get started with their license. For this purpose, you will have to create ‘users’. In this article, we will go deeper into how you can do this, and how you can assign licenses and roles.
Creating a new user and e-mail address in Microsoft 365
You can create a new user via our own control panel or the control panel of Microsoft. The choice is yours.
Via our control panel provided, follow these steps:
- Go to “My Products” > “Microsoft 365” (and select your tenant if you have more than one).
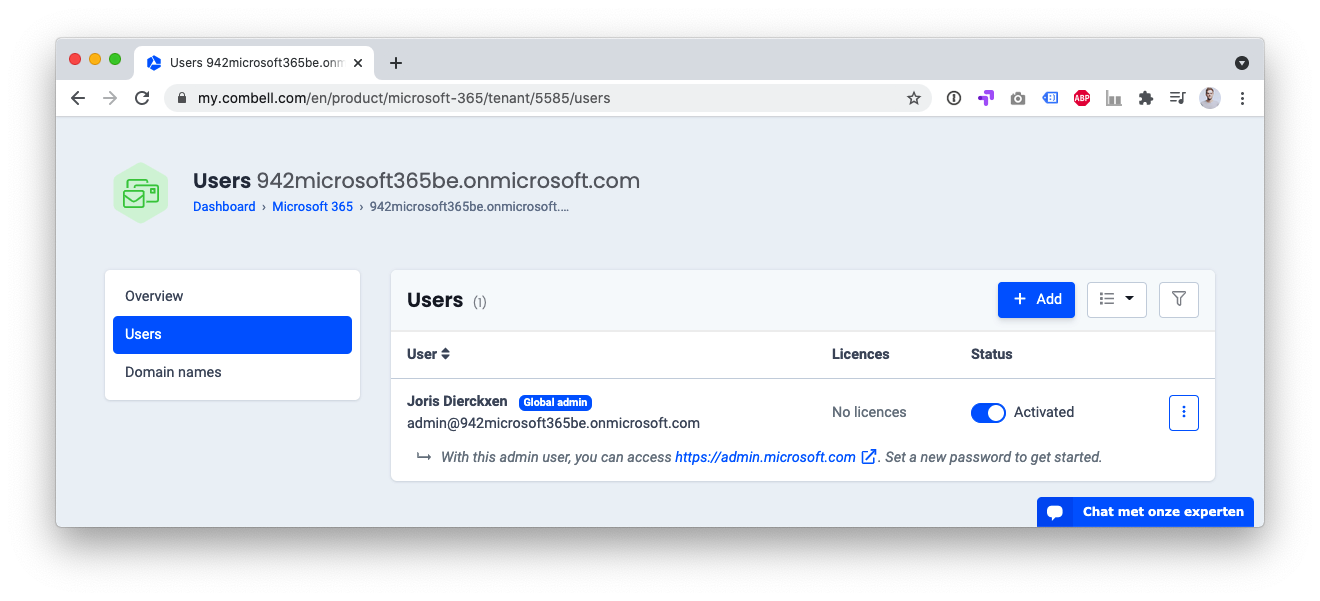
- Select “Users” from the menu on the left.
- Click on the “+Add” button to create a new user.
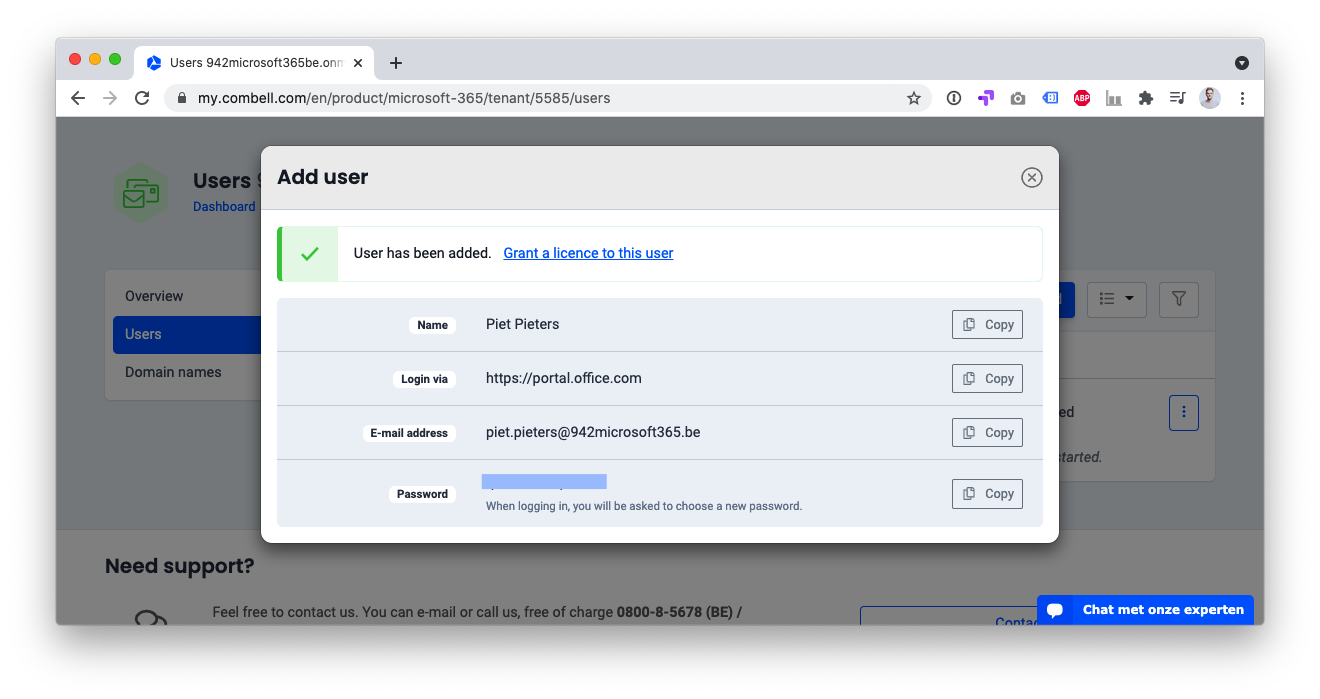
- Enter the name of your user and choose an e-mail address.
- Confirm to add the user.
- Copy the temporary password. When logging in, the user will be able to choose a new password himself.
- Click on “Grant a license to this user” to add a license at once.
- Now click on “Grant license” and select the desired license from the drop-down menu and confirm.
Adding multiple users at once in Microsoft 365
Each member of your team needs a user account before he or she can log in and access Microsoft Office services. If you have a large number of users, to whom you want to grant the same kind of license, you can add those users in bulk from an Excel spreadsheet or any other file you have saved in CSV (comma separated values) format.
Here is how you do it:
- Log in to your admin module: https://admin.microsoft.com
- In the admin center, select “Users” > “Active users”
- Select “Add multiple users”
- Create a .csv file
- Click “Browse” to find the CSV file on your computer.
- Select your file and click “Check”. If there is a problem with the file, this will be shown in the panel. A log file will also be created, which you can download if you wish.
- In the “Set user options” panel:
- determine the login status for all users
- determine the type of license to be assigned to all of these users.
- In the “Display Results” panel:
- Choose whether the result should be sent to yourself or to the users (the passwords will then be sent in plain text).
- You can see the number of users that have been created, and if you need to purchase additional licenses for some of these new users.
- You are done: your users can now start using the Microsoft 365 services!
Managing users in Microsoft 36
Your Microsoft 365 admin account also allows you to manage the users you have created. Have you, apart from yourself, not yet created any users? Then, you should first read the instructions provided in our articles about Creating users in Microsoft 365 or Adding multiple users at once in Microsoft 365.
Here is how you can manage your users:
- Log in to your admin module: https://admin.microsoft.com
- Click the “Manage” panel
- Go to “Users” > “Active users”.
- Select a user, and then select one of the options from the drop-down menu:
- Reset password
- Manage product licenses
- Manage roles
- Export users
- Manage e-mail aliases
- Edit user name
- Manage groups
- Manage contact details
- Edit login status