Rules will help you organize your mailbox – certain mails will automatically go to certain folders so you don’t have to sort them manually.
Below is an example. You can use our webmail to create Rules. And they will immediately apply to every mail client in which you configure your account.
IN THIS ARTICLE
Step 1: Log in to Outlook Web Access
Follow these steps in the control panel to log in to OWA:
- Go to “My Products”> “E-mail Hosting”> Click the “Manage e-mail” button to the right of your domain name.
- Select “Outlook Web Access” in the menu on the left.
You will be redirected to a login page. Enter your details and log in.
Step 2. Create the Outlook rules in OWA
- Navigate to the side menu on the left and find your “Inbox” folder.
- Right click on it, and from the dropdown menu, choose “Create New Folder…”.
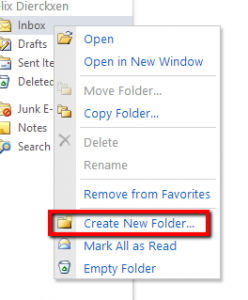
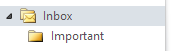
- Let’s call it ‘Important’.
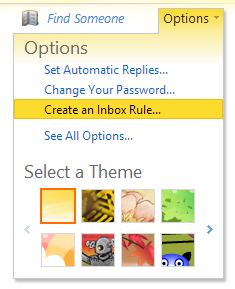
- Now navigate to the upper right corner and click on the “Options” link.
- A dropdown menu falls under your cursor. Choose “Create an Inbox Rule”.
- You are now in the “Organize E-Mail” section of your Exchange management.
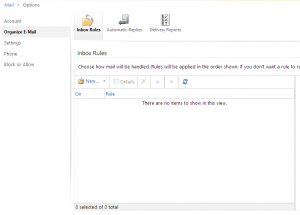
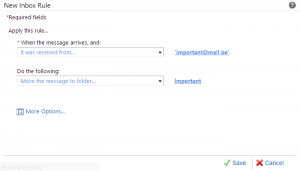
- Click on the “New” link on your screen.

- Select an action. For this example we will use “It was received from…”.
- Now it is time to choose the sender to whom the rule applies. If you do not have it in your contacts, use the From text field below to fill in the address.

- In “Do the following” choose “Move the message to folder”.
- Expand the Inbox and choose the “Important” folder.
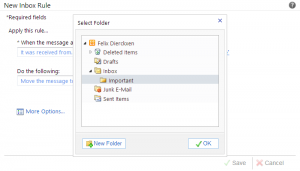
- Click on “Save”
141