Your self-managed Virtual Private Server (VPS) gives you full control over your server environment and allows you to host web applications and websites. In this article, we will discuss the main functionalities you can from our control panel.
Table of Contents
Access your VPS dashboard
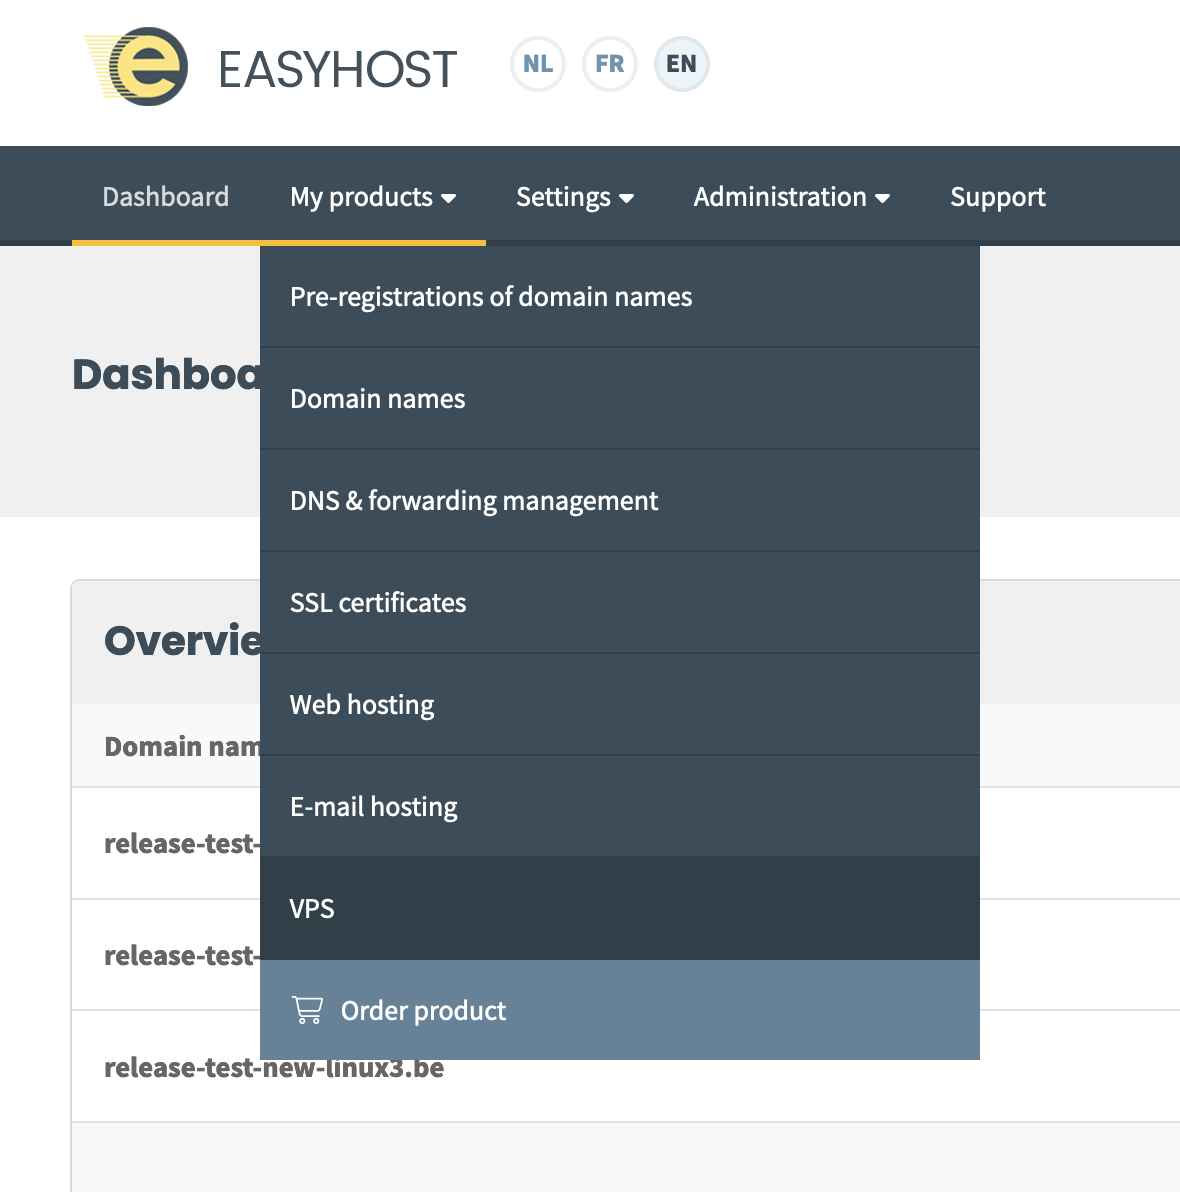
Follow these steps in our control panel
- At the top, go to “My products” and select “VPS”
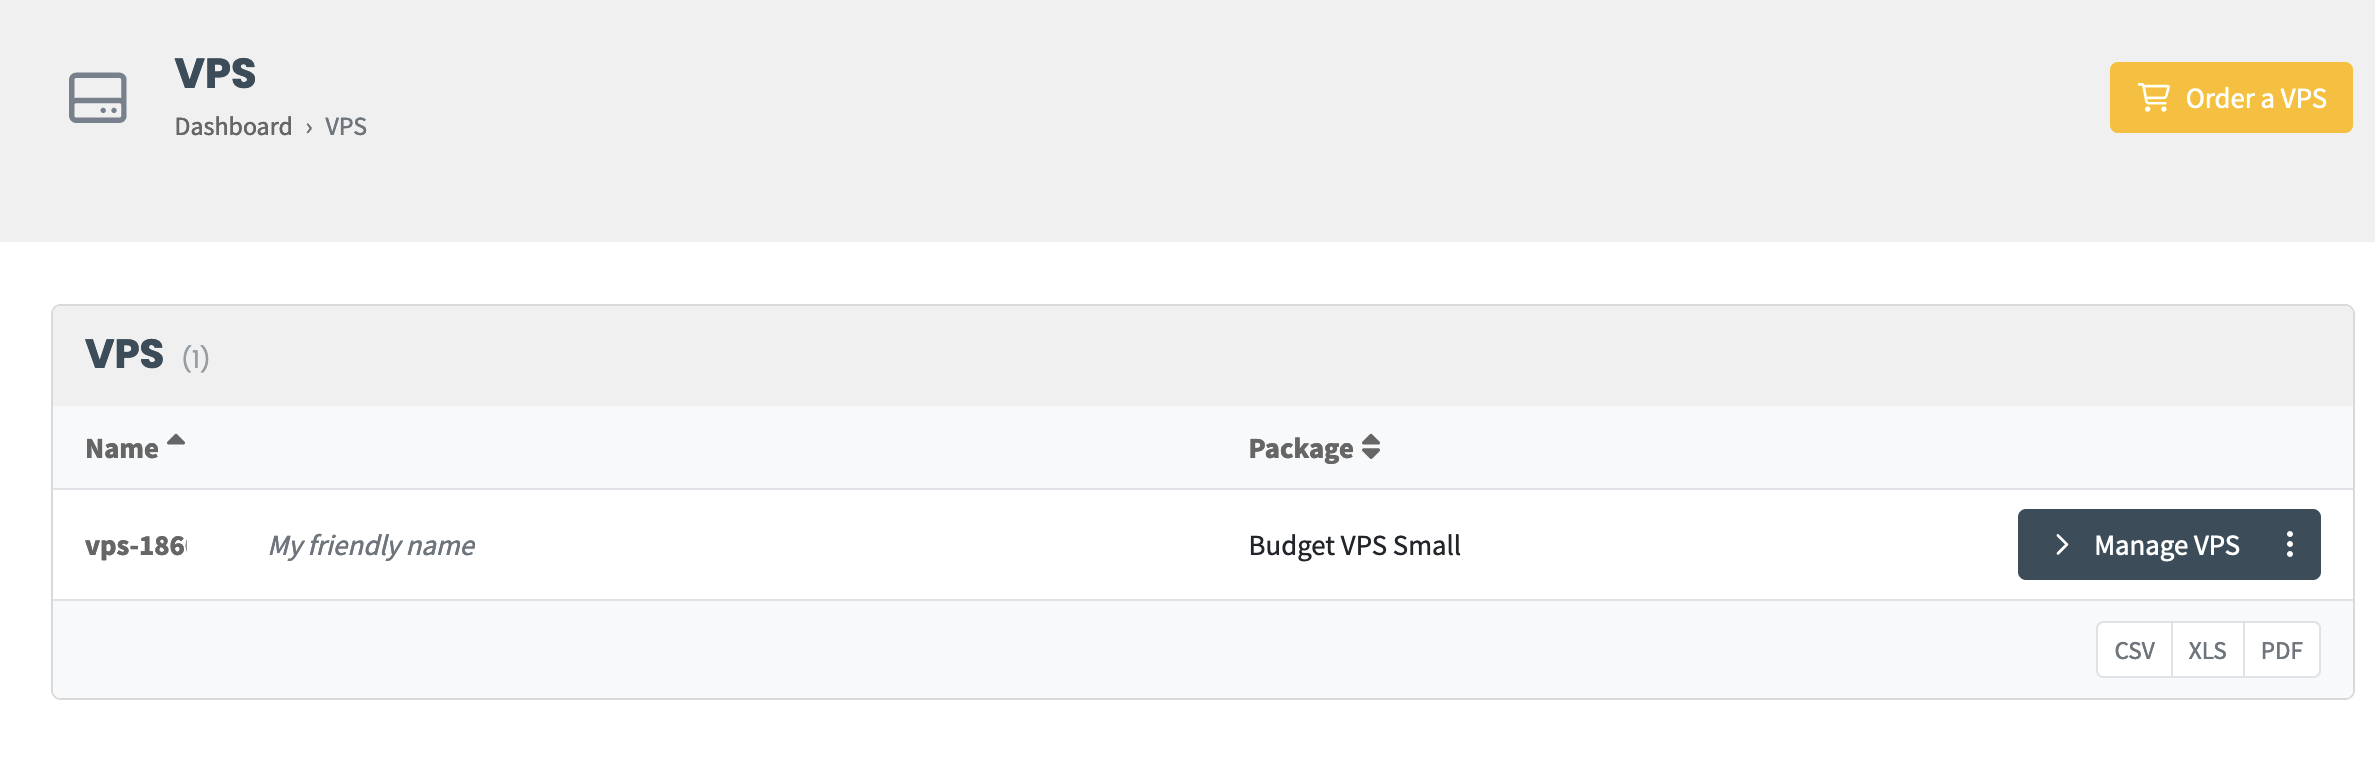
- Click on “Manage VPS” next to the VPS you want to manage
- Click on “Open VPS dashboard” on the right
Now you are in the VPS dashboard, where you will get an overview of your VPS and all its settings.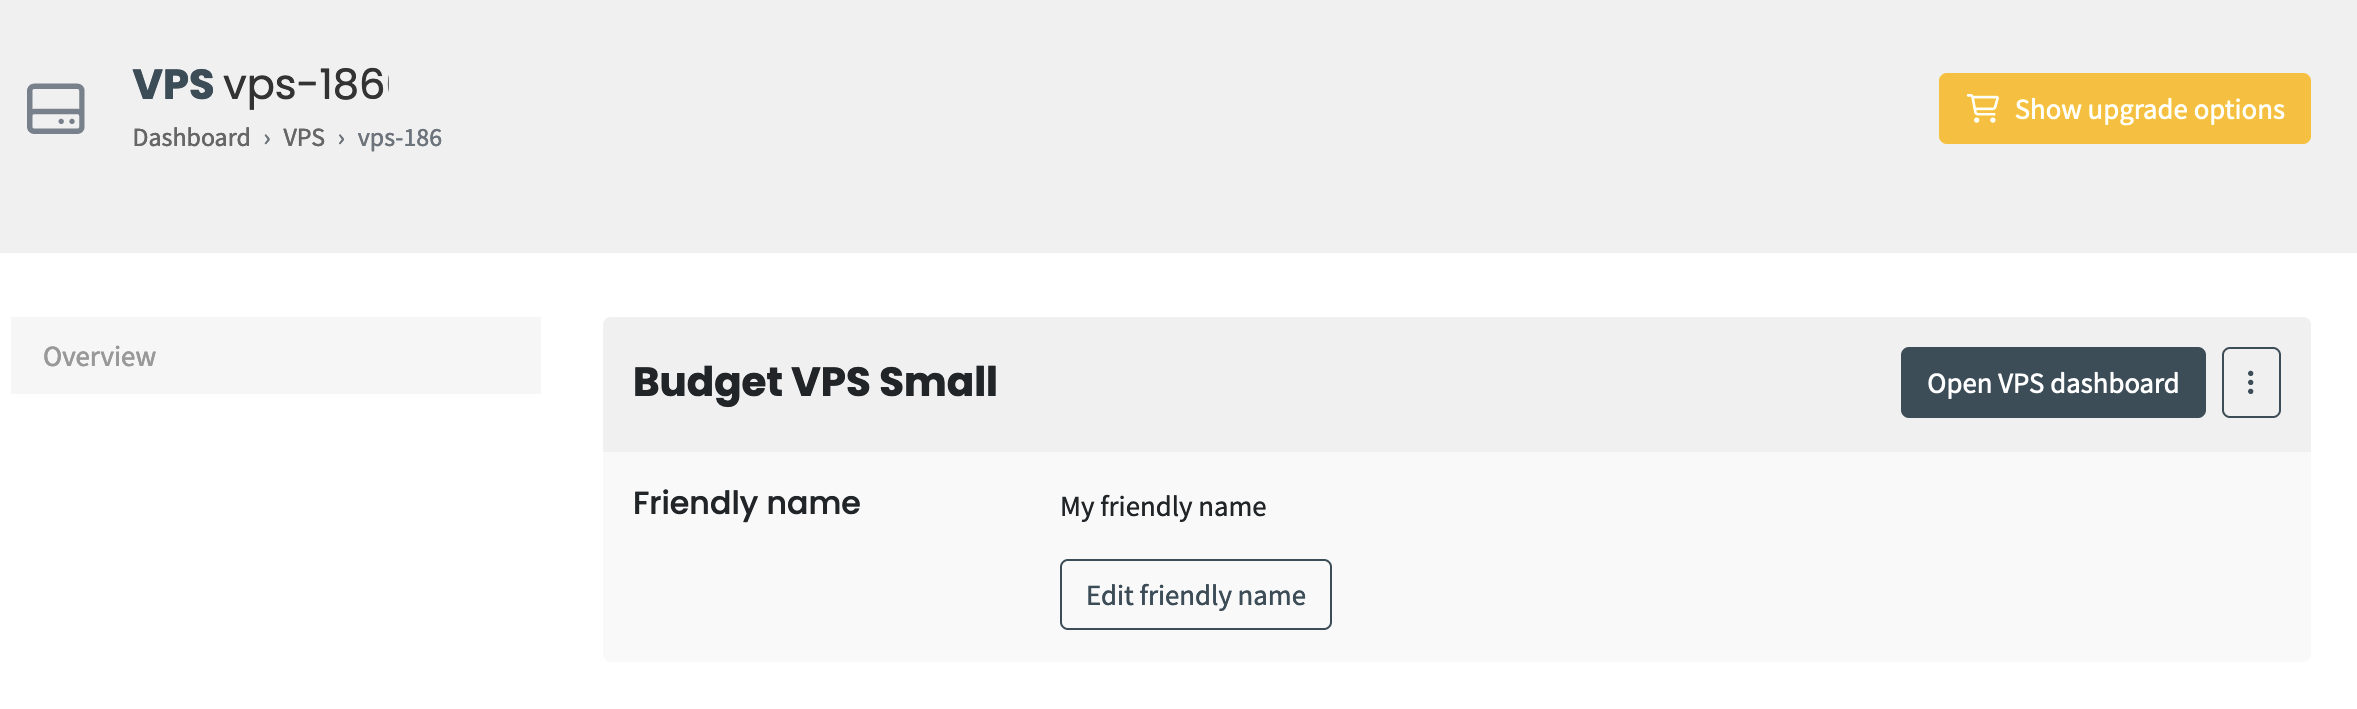
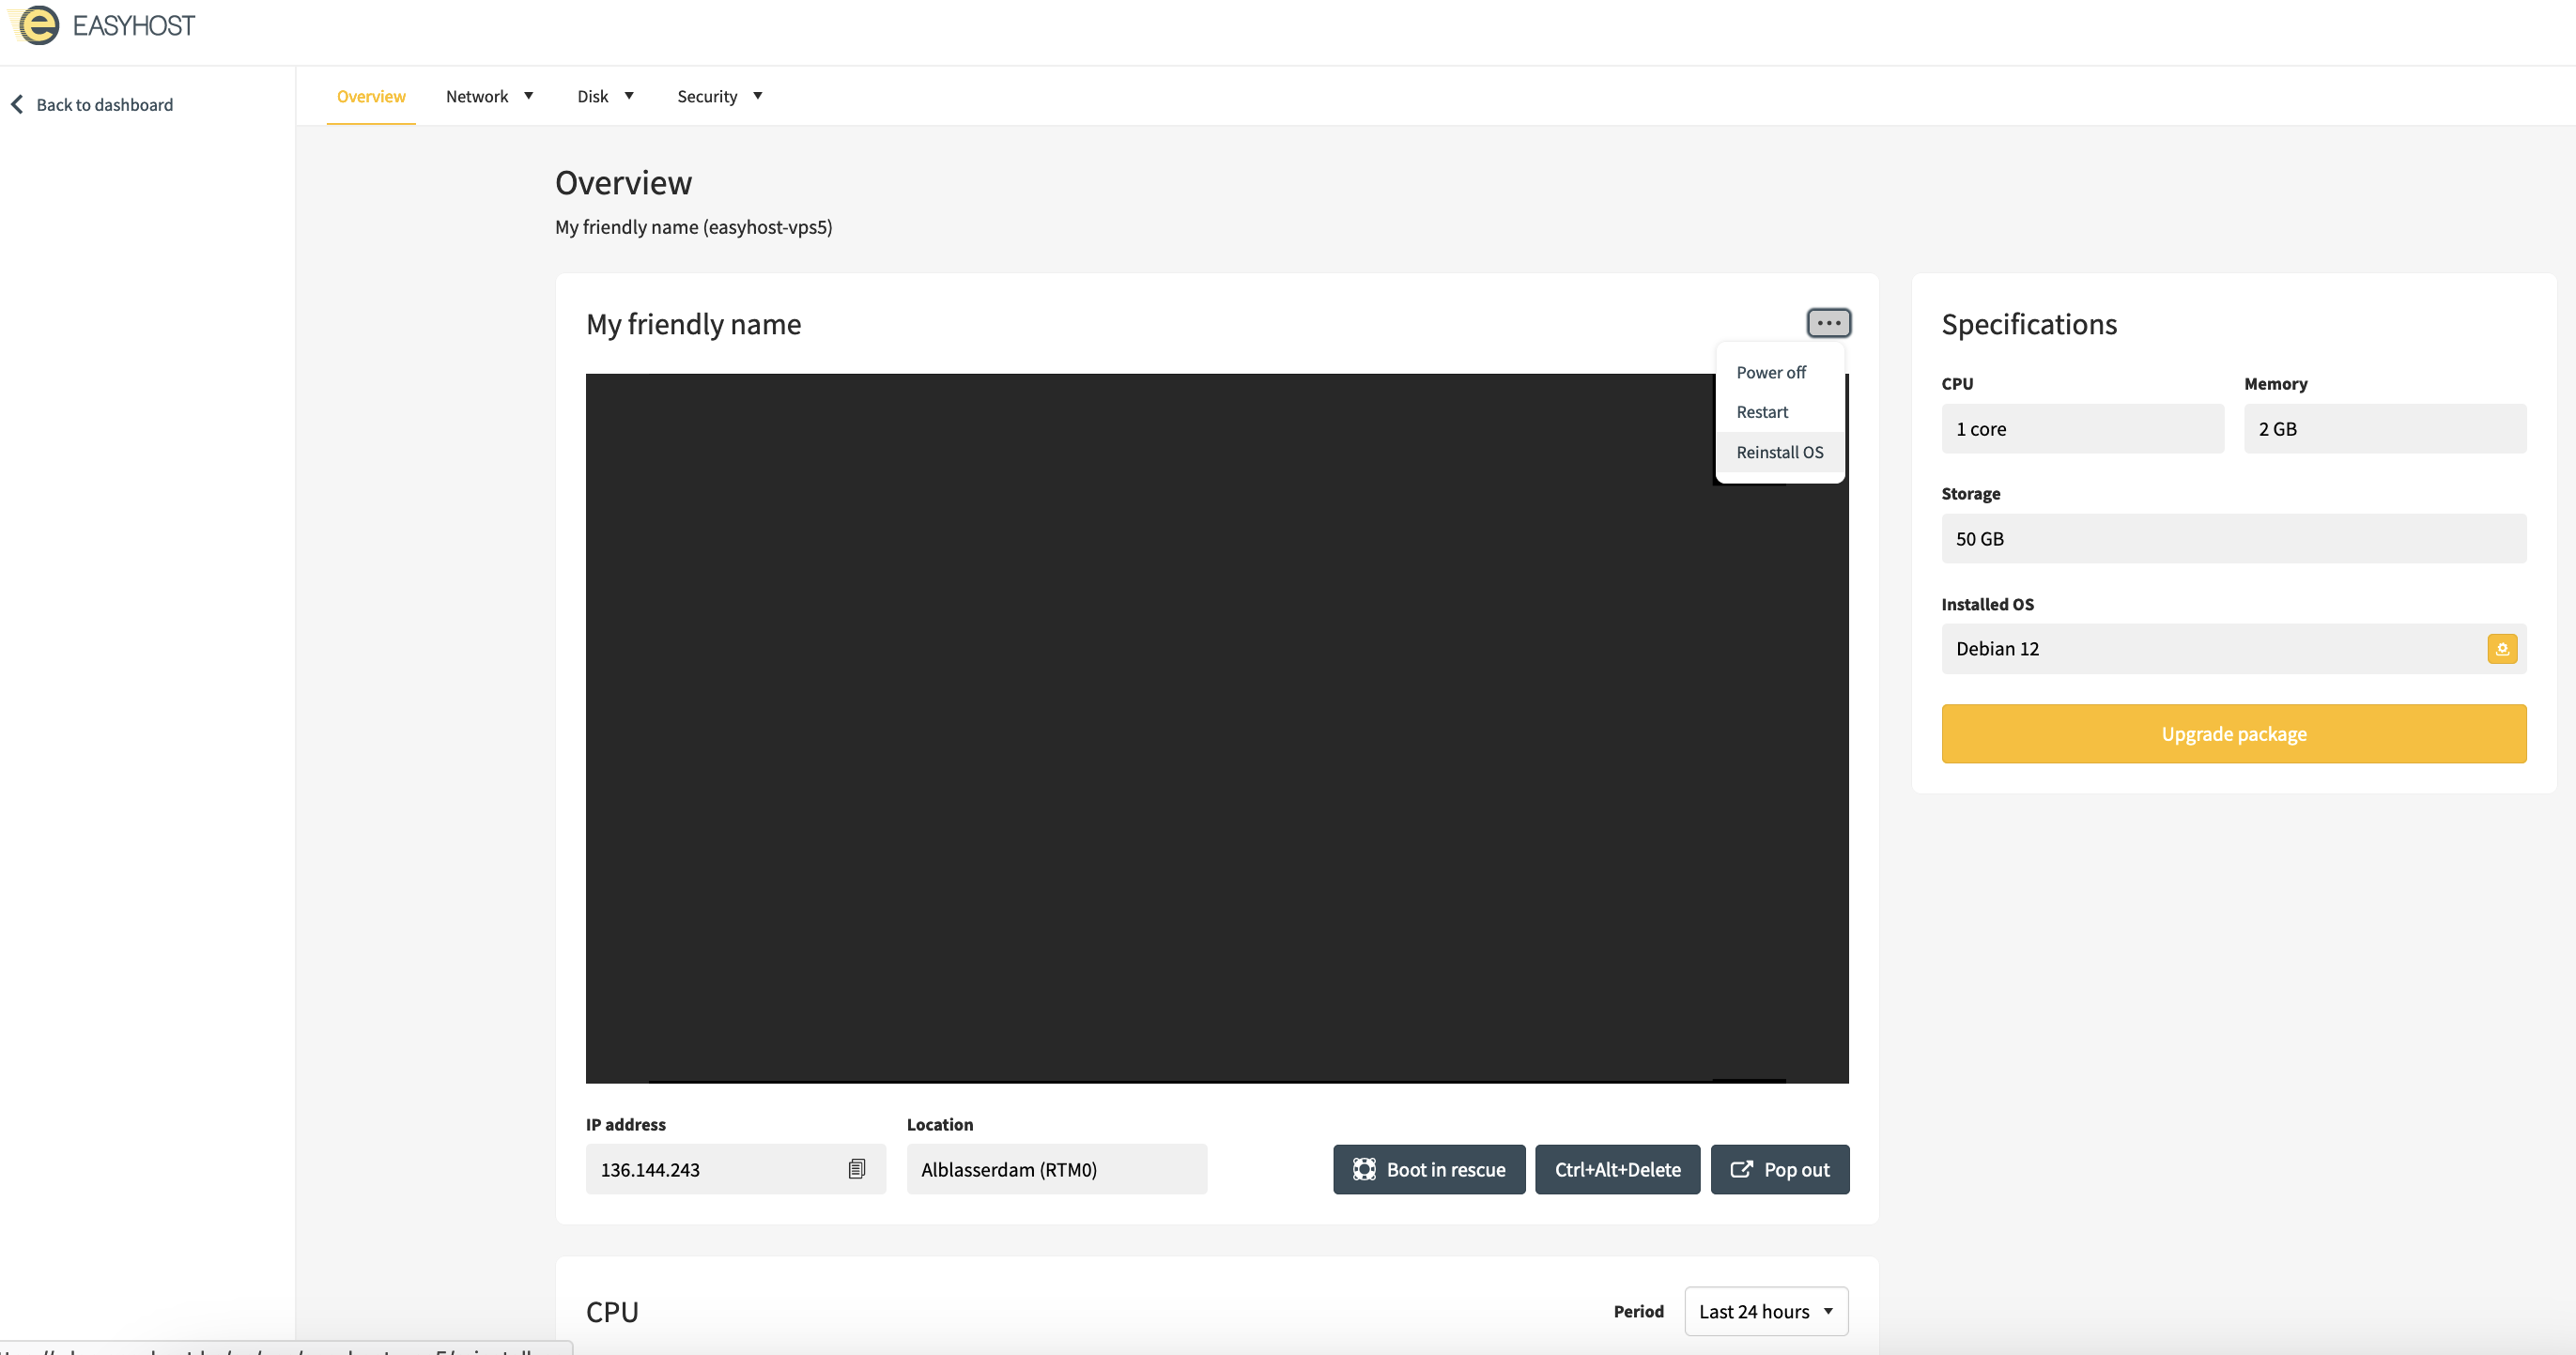
(Re)installing an OS
Sometimes it is necessary to reinstall your operating system. In that case, follow these steps:
- Within the VPS dashboard, go to “Overview”
- In the top right corner, above the terminal screen, click on the three dots
- Then click on “Reinstall OS” and pick the OS you want to install
Check your backups
Backups are crucial to protect your data. Follow these steps to manage backups:
- At the top of the VPS dashboard, go to “Disk”
- Then click on “Backups”
Here you can view all your available backups and restore them if needed.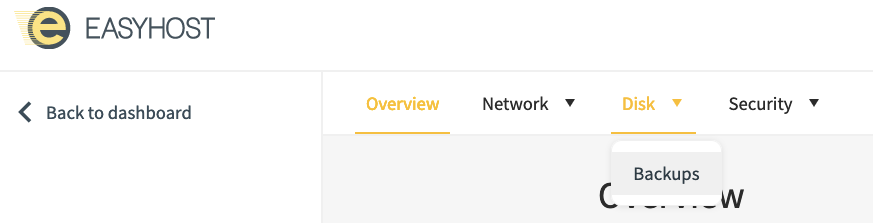
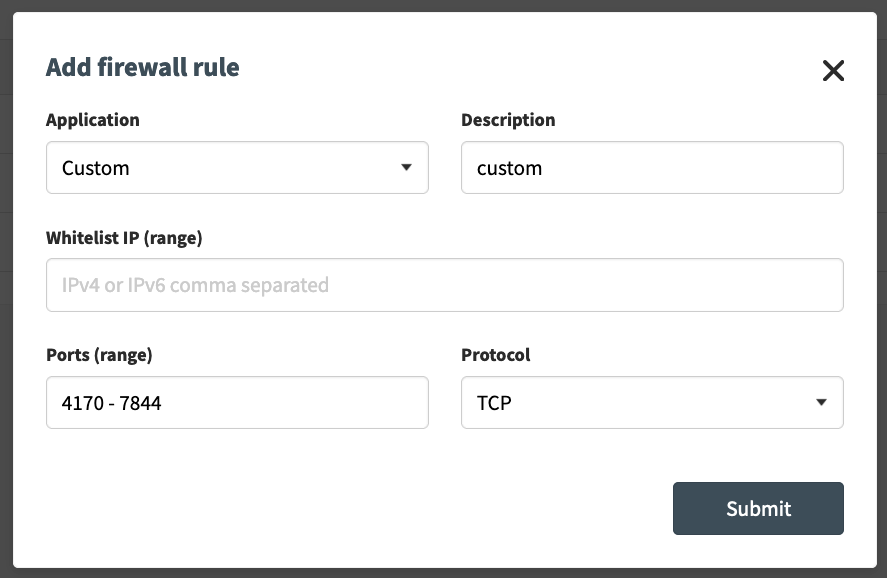
Setting firewall rules
Firewall rules help protect your VPS from unauthorised access and attacks. Follow these steps to set firewall rules:
- At the top of the VPS dashboard, go to “Security”
- Then click on “Firewall”
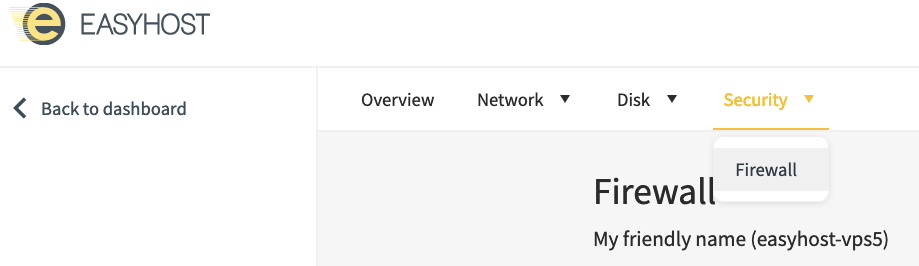
- Right-click “Add” to set up a new firewall rule
Don’t forget to activate your firewall as well. Otherwise, the set rules will remain inactive.