A cronjob is the right way to program a recurring task that is executed by a script on your account.
Table of Contents
Add cronjobs via the control panel
Follow these steps in the control panel:
- Go to “My products”> “Web hosting”> Click on the button “Manage hosting” to the right of your domain name.
- Select “Site settings” in the menu on the left.
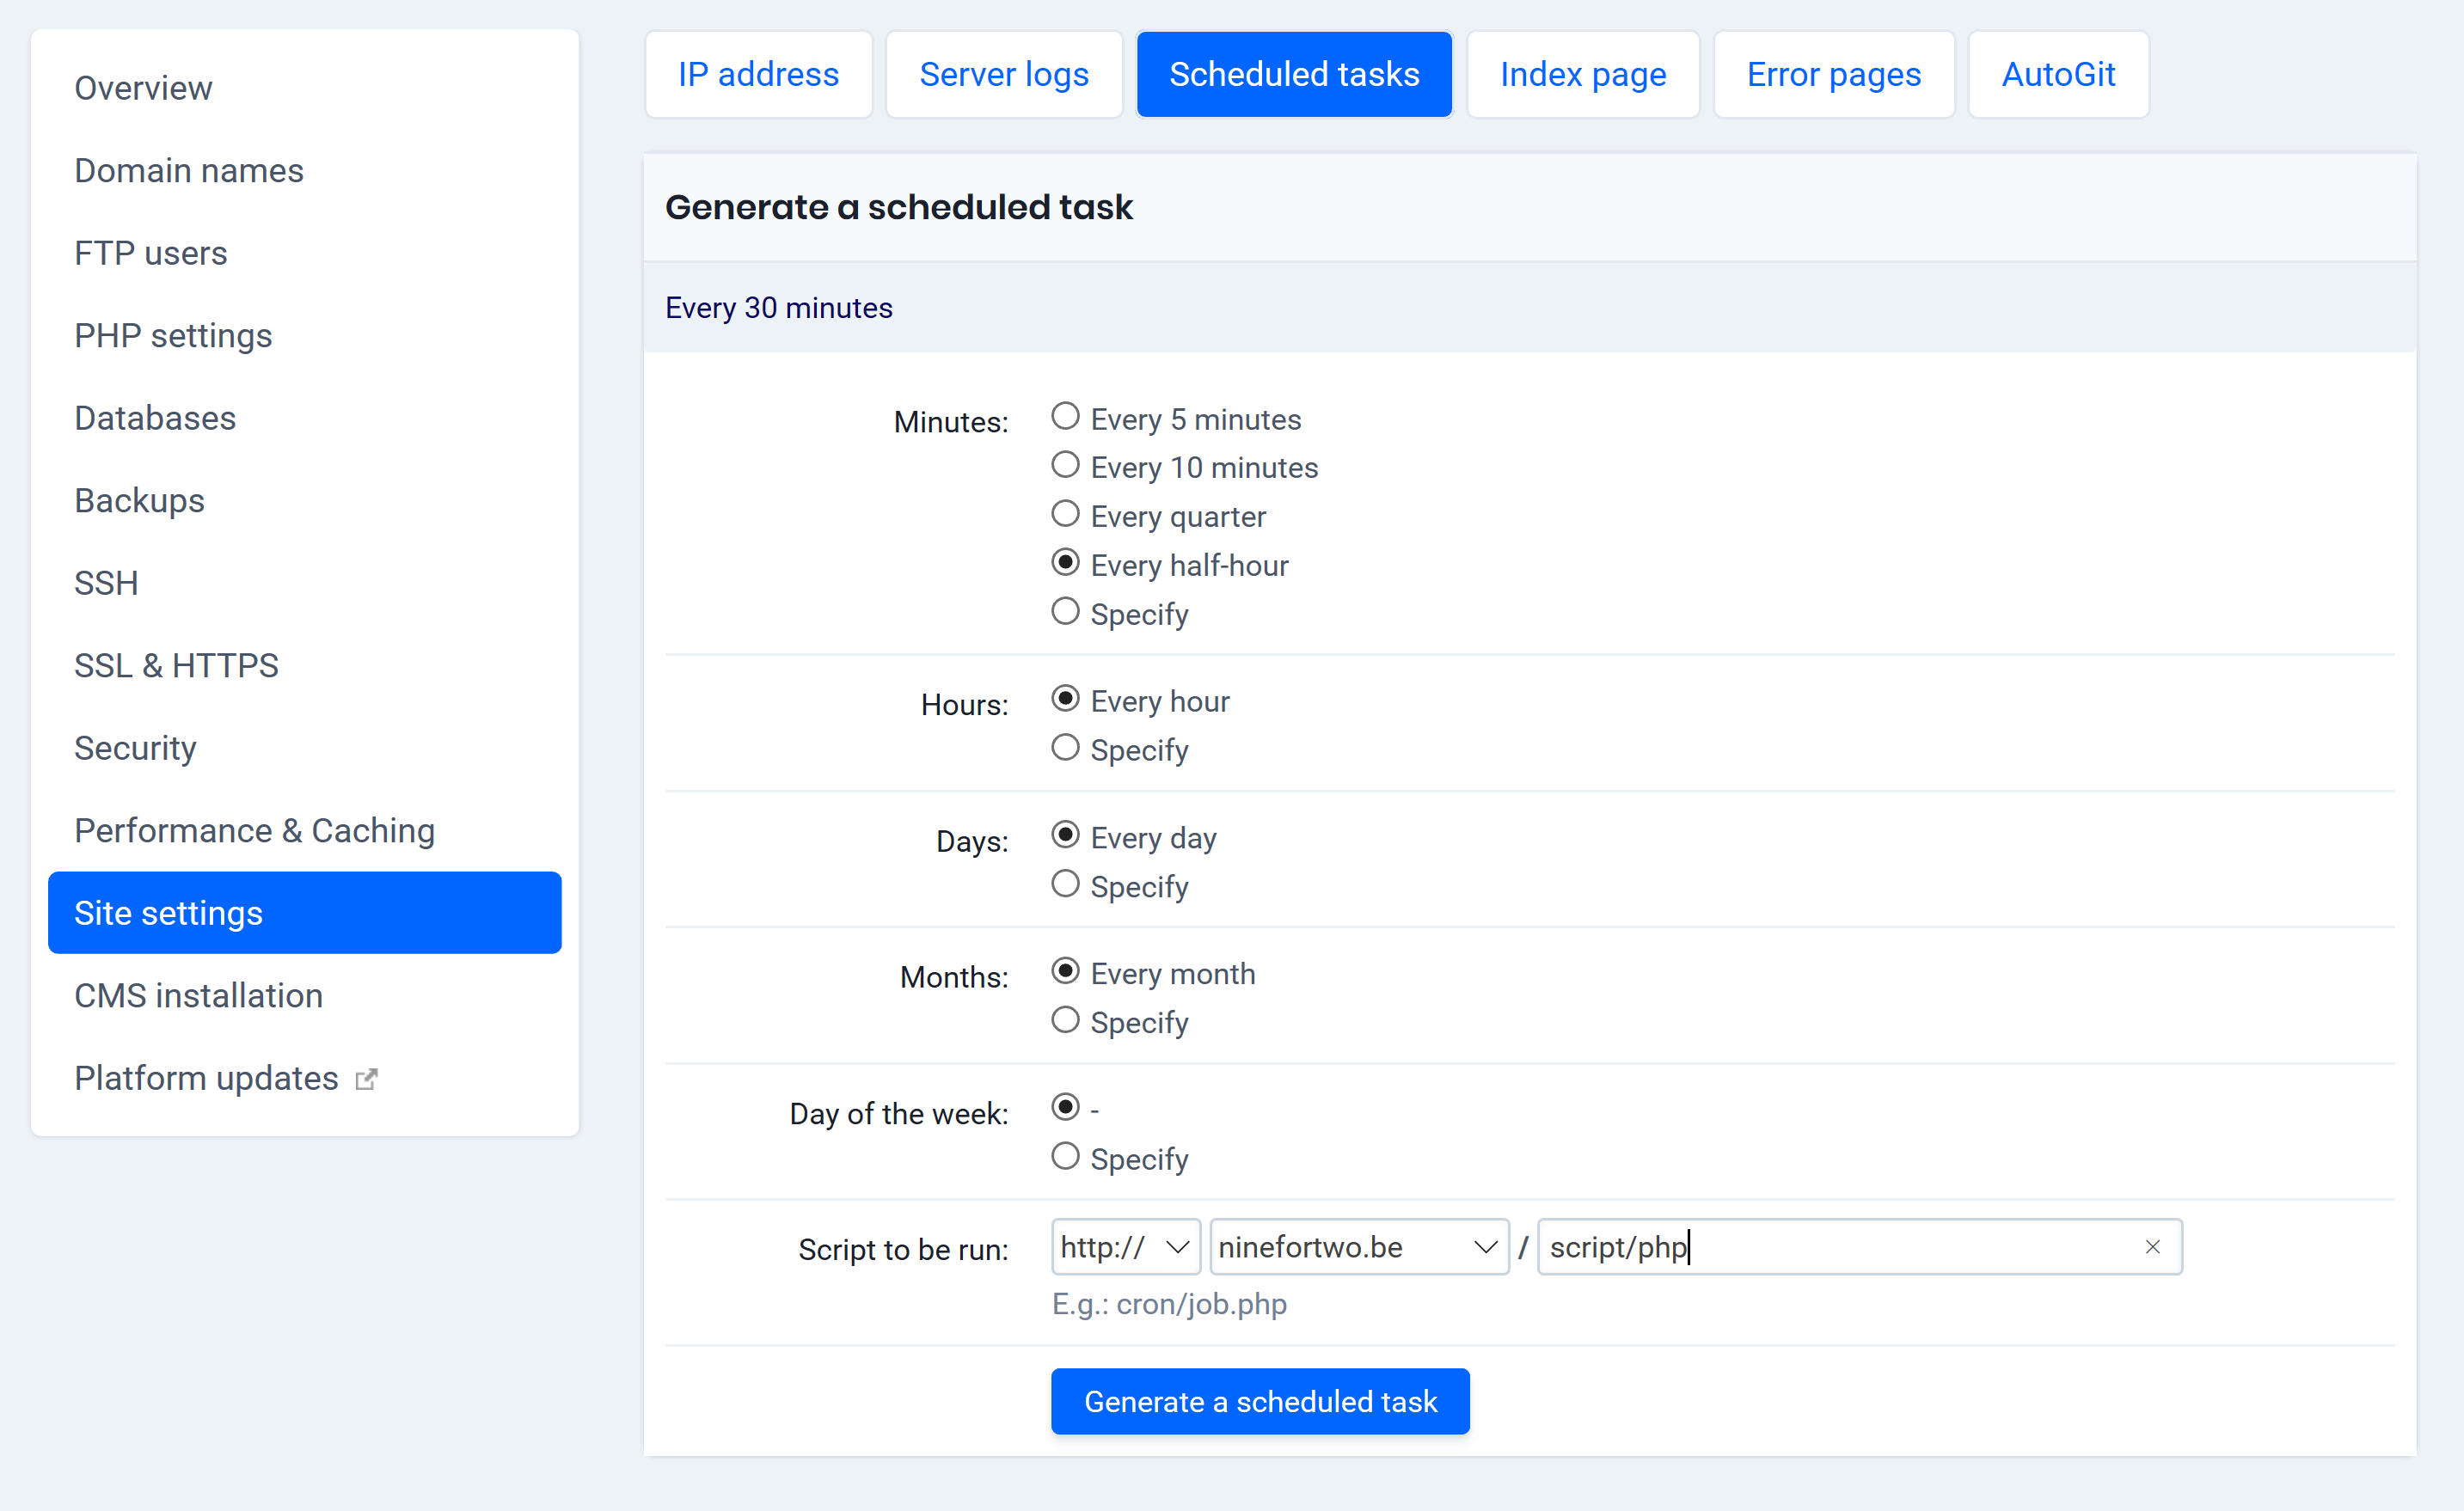
- Click the “Scheduled Tasks” tab and then click “Add Cronjob”.
- Select the desired frequency for your cron job (see image).
- Choose the domain name at the bottom and add the path to which the script was uploaded.
- First add the script with the cronjob to your hosting environment.
- Click on “Generate scheduled task” to confirm.
Add cronjobs via SSH
The advantage of a cronjob set via SSH is that it can run for about twenty minutes before the server will stop the script, compared to only five minutes if the cronjob was set via the hosting control panel.
To add a cronjob via SSH you must first activate SSH. Then you have to edit the/etc/crontab file. We explain how you do that.
Follow these steps to add a cronjob via SSH:
- Open your Terminal app or your Command Prompt (Command Line).
- Enter the following command:
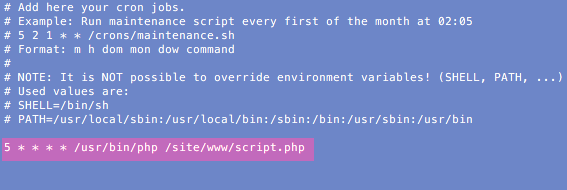
nano / etc / crontab - Add your own cronjob. Check the correctness of the cronjob syntax (see example).
- Save it by clicking on “CTRL” + “O”. Click “Enter” to confirm. Close with “CTRL” + “X”.