With Managed WordPress you can set up a test environment for your website straight from your control panel. You can even take a copy from a back-up and launch it on this test environment. All without leaving the control panel. This is extremely handy if you plan to update your website (for ex. with new plugins).
Follow these steps in the control panel to set up a test environment
- Go to “My products”> “Web hosting”> Click on “Manage” next to your domain name.
- In the menu on the left, click on “Test environments”.
- Here, you can automatically create a test environment. Just click on the button “Add your first test environment”.

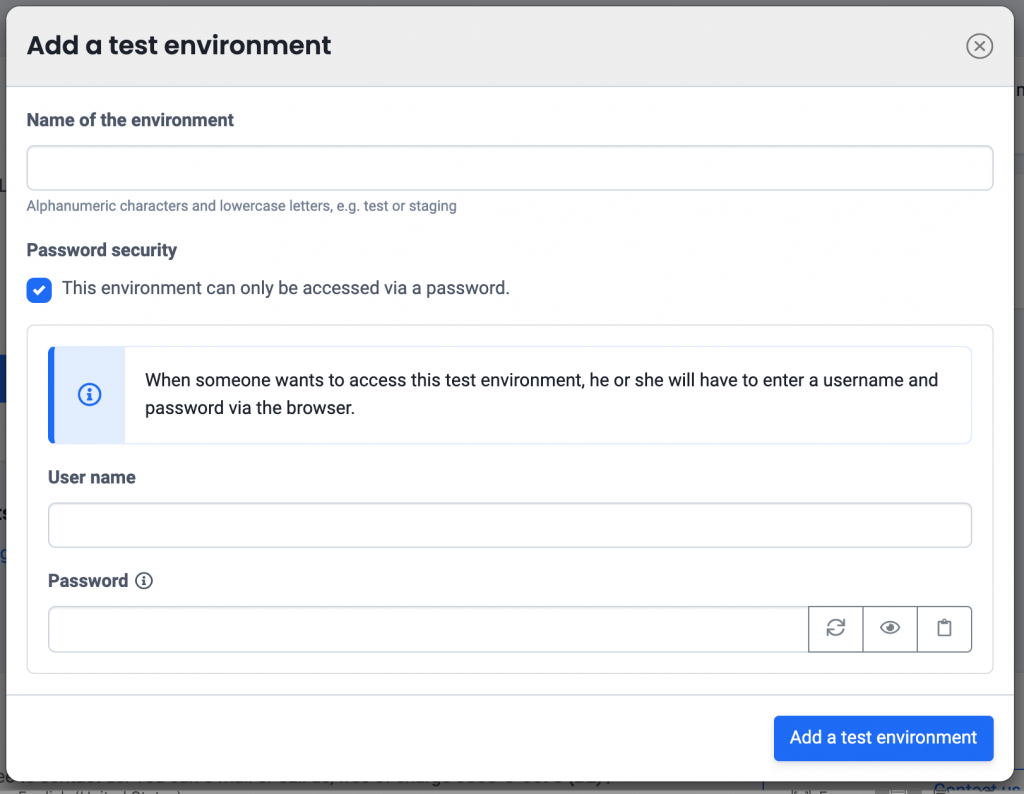
- A pop-up window will appear. Here, you need to give your test environment a name and optionally, a username and a password to prevent others from visiting your test website. Click on “Add a test environment” to finalize. This will take a moment.
- Next, you can copy your existing WordPress setup to the testing environment. This way, you can test some edits on an exact copy without affecting the production website.
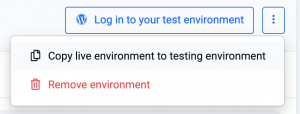
- To go to your test environment, click on “Log in to your test environment”.