You can export or import your database via phpMyAdmin or via a terminal (if your SSH is active).
Export / import database via phpMYadmin
You can open phpMyAdmin via the control panel. View our step-by-step plan
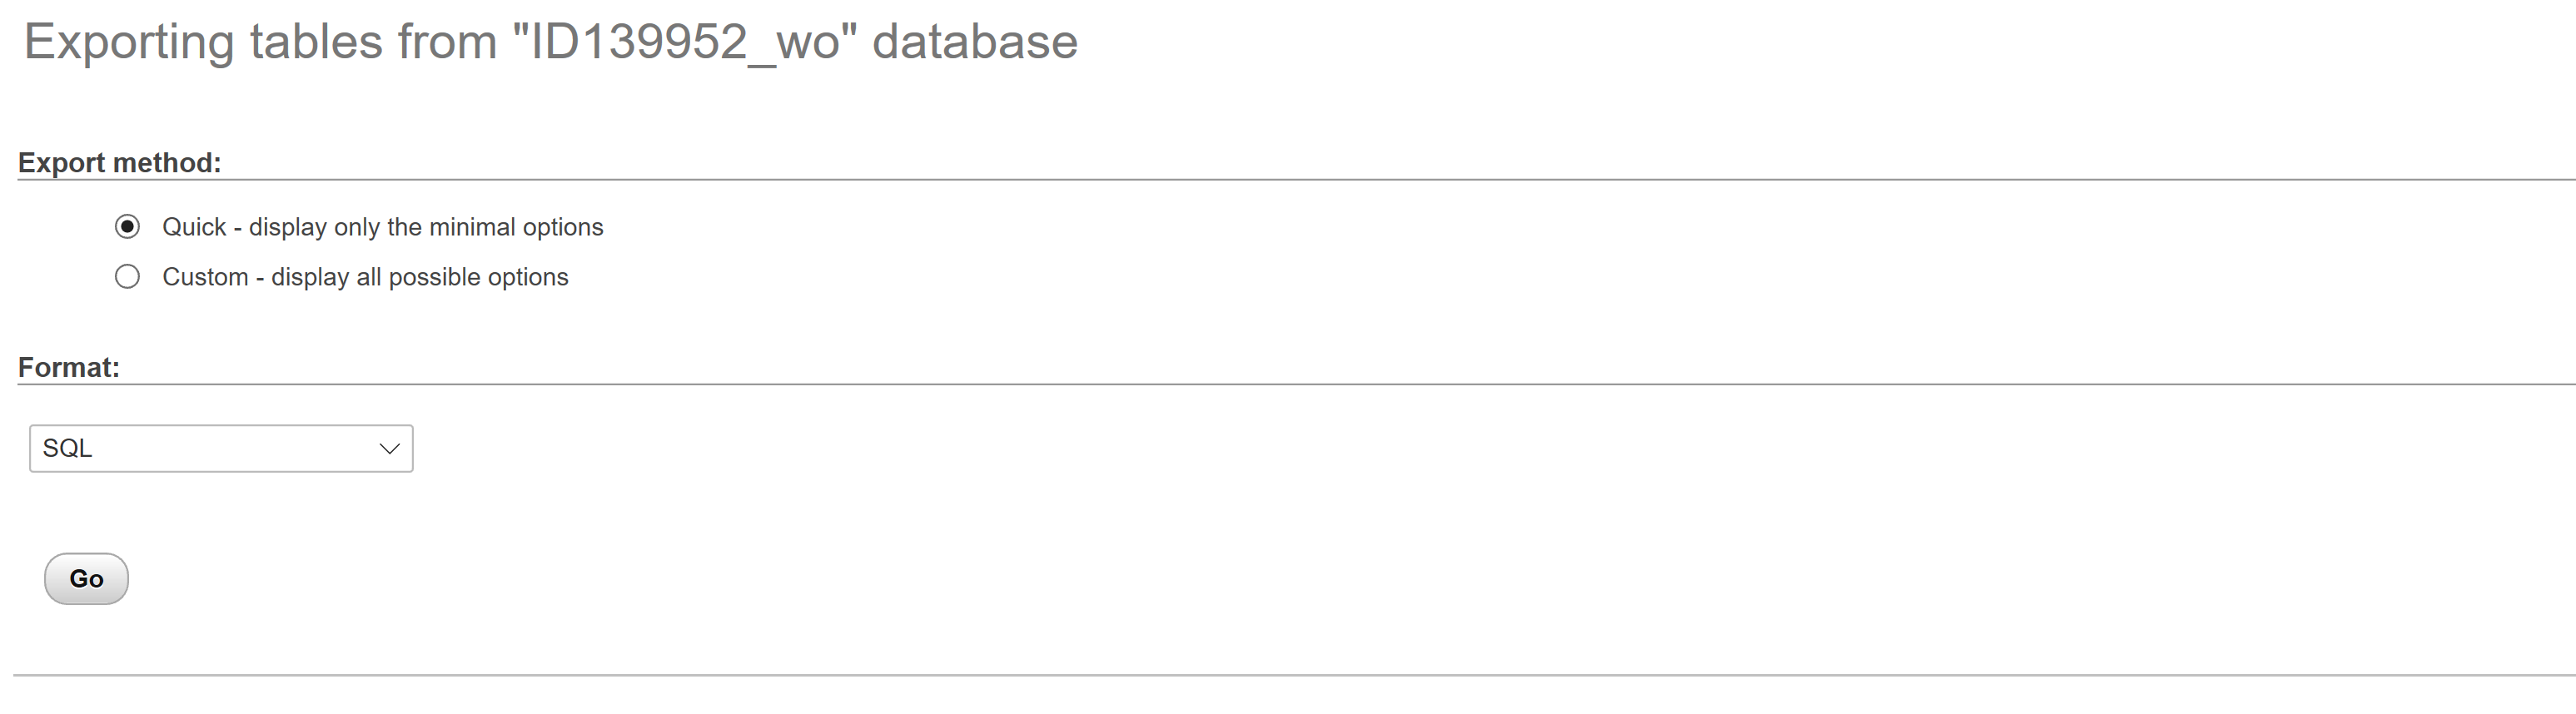
Export database in phpMyAdmin
- Select the name of the database at the very top left of the margin. This takes the form ID <customer number> _ database name, for example: ID132956_wordpress.
- Go to the horizontal menu at the top. Click on the “Export” button.
- The export method (“Fast”) and the export format (“SQL”) are set correctly by default normally (see image).
- Click on the “Start” button to confirm. A .sql file will be downloaded to your computer.
Import database into phpMyAdmin
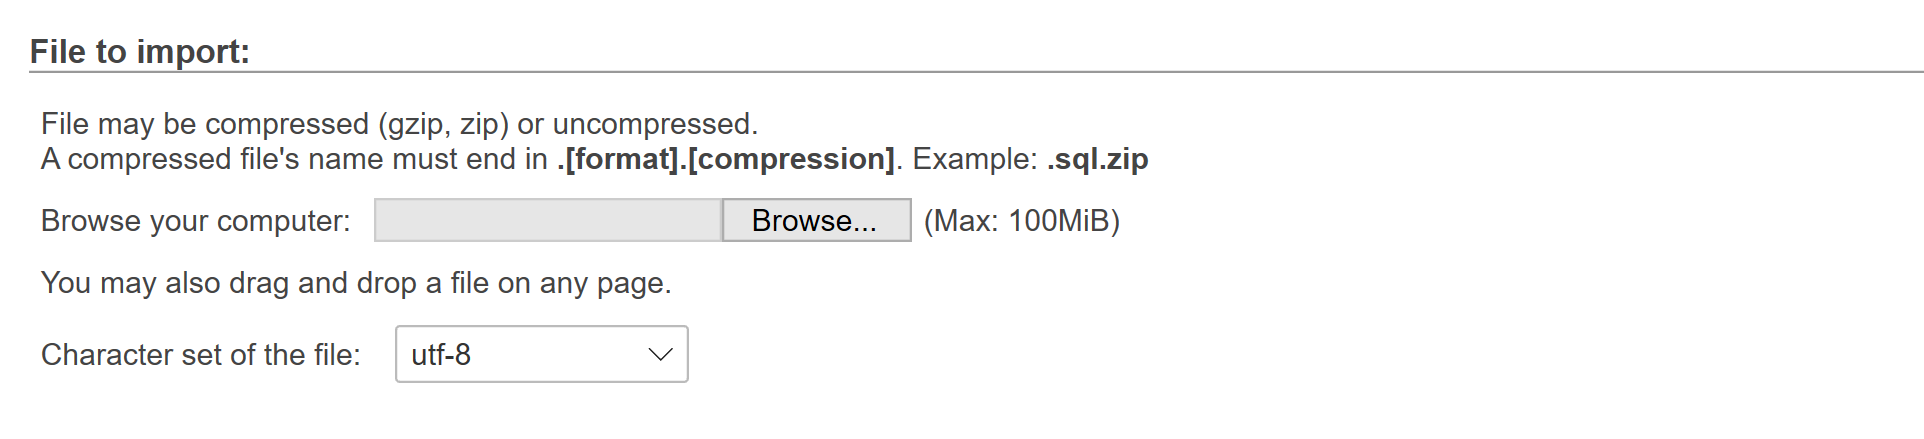
- Go to the horizontal menu at the top. Click on the “Import” button.
- Click on the “Choose File” button and browse your device for the desired .sql file (see image).
- Click on the “Start” button at the bottom to confirm the import.
Export/import database via Terminal
You can also import/export your database via a Terminal. For this you first have to check if SSH is active and you can easily register – preferably via your SSH key .
Export database via Terminal
To export your database via the Terminal or Windows SSH client, connect to the server and execute the command below, where:
- HOST: your database must be host
- USER: your username is from the database
- PASS: your password is from the database
- NAME: the name is of the database
- DUMP.SQL: the name that you want to give the file
Command:
mysqldump -hHOST -uUSER –p'PASS’ NAME > DUMP.SQLExample:
mysqldump –hmysql111.hosting.webhosting.be -uID111111_sufix –p'$tr0ngPa$word' ID111111_sufix > dump.sqlYou can add the file to an internal / www / folder and then download it through your browser. If you do the latter, you should certainly not forget to delete that file as soon as possible afterwards, because there is a danger that you will give others access to your data. [/ Ht_message]
Import database via Terminal
To import your database via the Terminal or Windows SSH client, connect to the server and execute the command below, where:
- HOST: your database must be host
- USER: your username is from the database
- PASS: your password is from the database
- NAME: the name is of the database
- DUMP.SQL: the name of the file that you want to import
Command:
mysql -hHOST -uUSER –p’PASS’ NAME < DUMP.SQL
Example:
mysql –hmysql111.hosting.webhosting.be -uID111111_sufix –p'$tr0ngPa$word' ID111111_sufix < dump.sql