- Click on the logo area at the top left. Here you can add your own text or logo by clicking Add Logo.

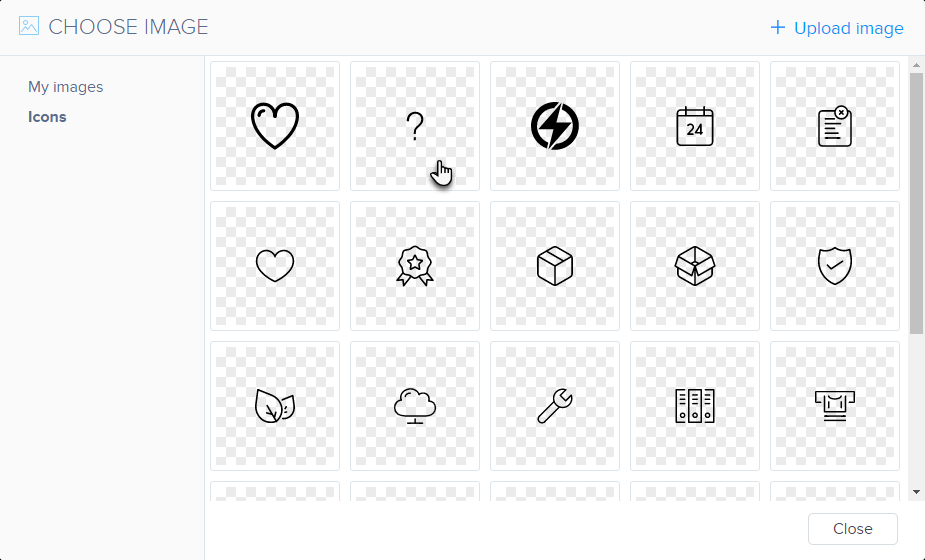
- Select an icon from the menu or add your own image by clicking Upload Image.
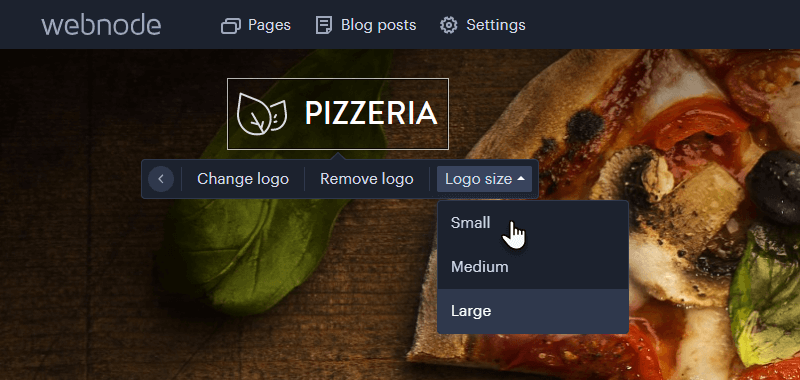
- You can edit the logo image by clicking the Logo button.

- Here you can Change or Remove a logo image. You can also change the Logo size.
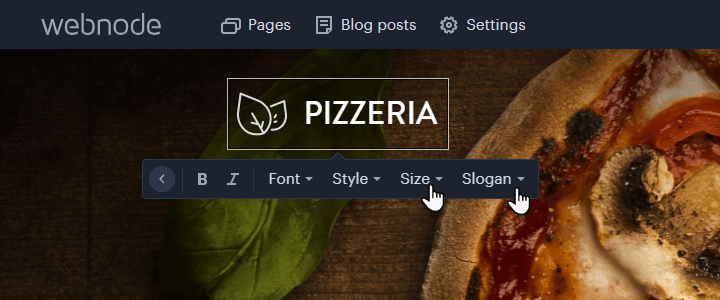
- You can also edit the logo description and its overall design by clicking Format.

- Here you can set up Font, Style and Size. By clicking on Slogan, you can select whether you want the slogan to be Enabled, Disabled or only Enabled on the home page.
- You can also set the text and format of the slogan. Publish the Changes.

How to Change the Logo in SiteBuilder
Updated on 27 September 2022