This article will teach you how to create an OpenStack virtual machine from the OpenStack control panel.
- Click on the link to log in your OpenStack control panel. Choose your authentication method and click on ‘Connect’.
- Fill in your username and password to get access. You can use the same details with which you log into your control panel.
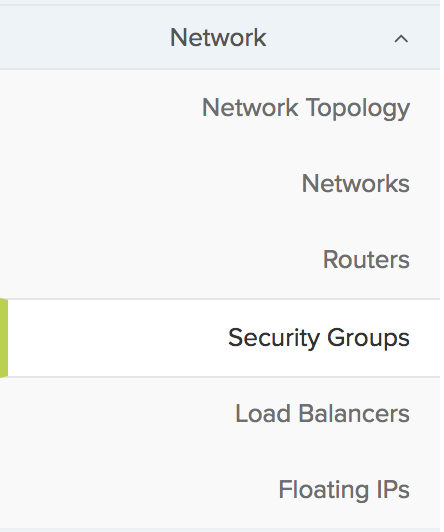
- You have opened the OpenStack dashboard. Navigate to the menu on the left side of the page ‘Project’ >> ‘Network’ >> ‘Security Groups’.
 > ‘Security Groups'” width=”444″ height=”532″>
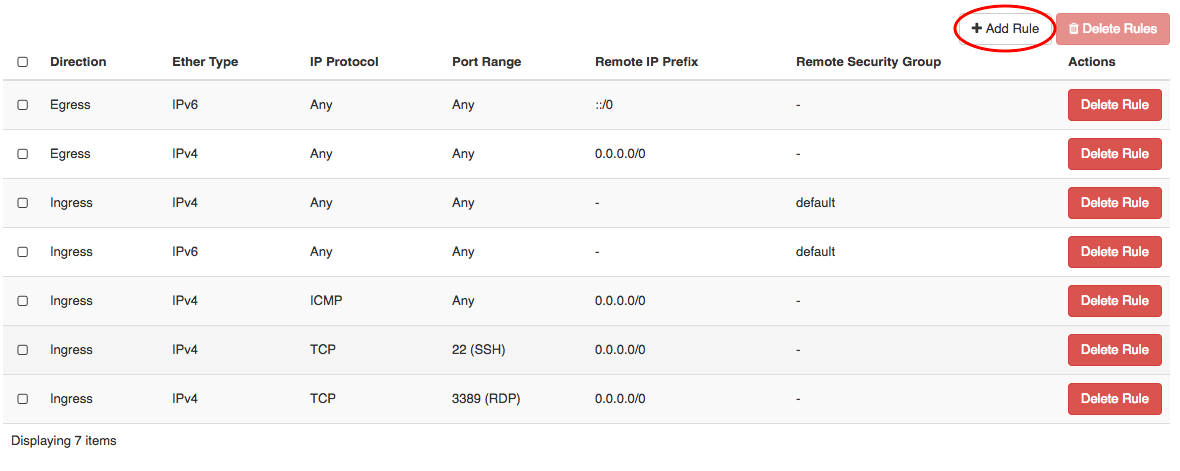
Here are your security groups. To edit the default group click on ‘Manage Rules’. Then click on ‘Add Rule’. This will open a pop-up window for your new rule.


At this step you will add the HTTP port to the security group so the content is accessible via a browser. In your popped-up window just leave the default settings and add ‘80’ for the port. Then click on ‘Add’ to finalize.
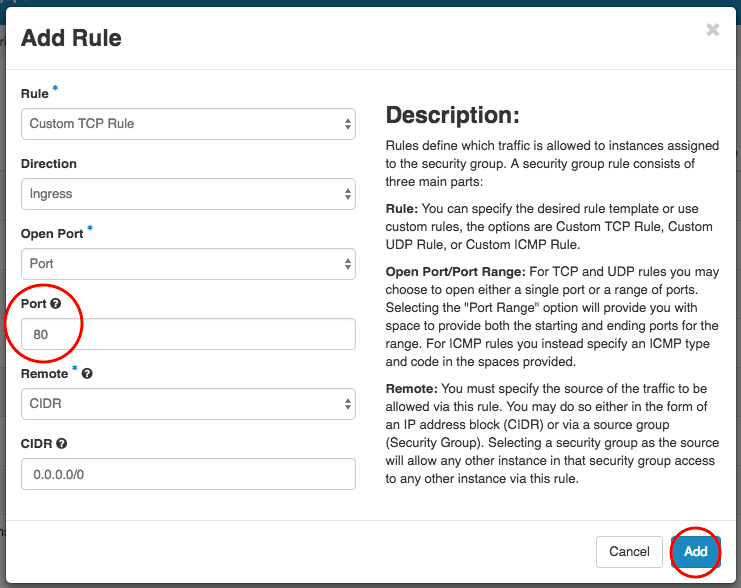
You will now see your new rule in the list, with the ‘HTTP‘ tag.
Tip: Make sure port 3389 is open for your RDP connection.
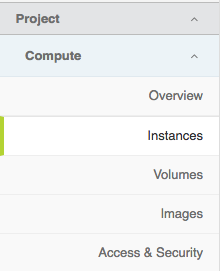
- Now it is time to create or import an SSH key pair in order to communicate with the server. Follow ‘Project’ >> ‘Compute’ >> ‘Key Pairs’
 Security groups” width=”444″ height=”532″>

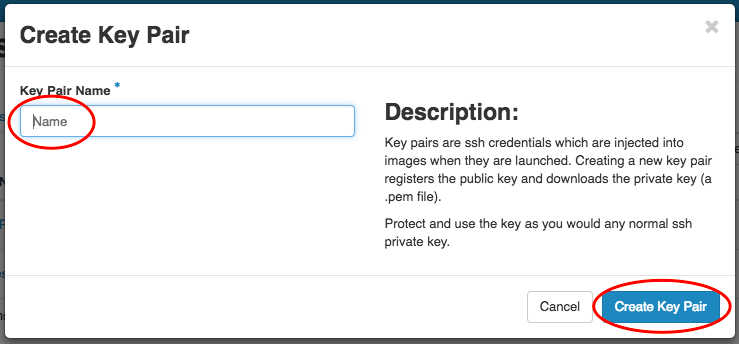
- To create an SSH key pair click on ‘Create Key Pair’, fill in the name of the pair and click on the ‘Create Key Pair’ button at the bottom of the pop-up window. That will start a download of a .pem file – this is your private key. Keep your file in a safe location. Make sure you edit the file’s permissions to 600.

- The third preparation step is to allocate an IP address. Follow ‘Network’ >> ‘Security Groups’, then switch to the ‘Key Floating IPs’ tab at the top.
 > ‘Security Groups'” width=”444″ height=”532″>
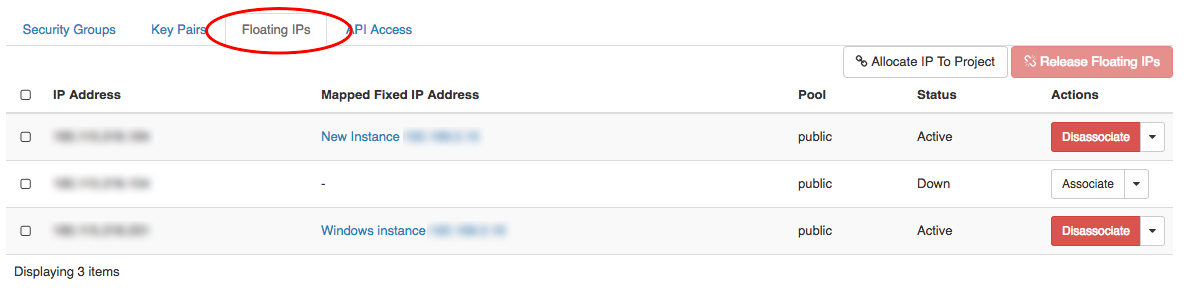
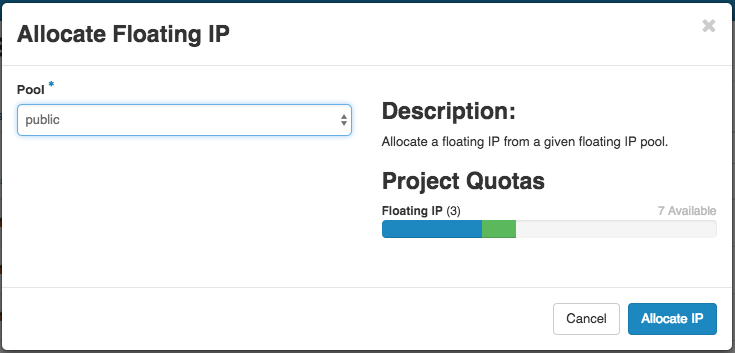
Click on ‘Allocate IP to project’ to open the pop-up window. Then from the ‘Public’ pool you assign an IP by simply clicking on the ‘Allocate IP’ button at the bottom.
![]()
Now you can create your virtual machine.
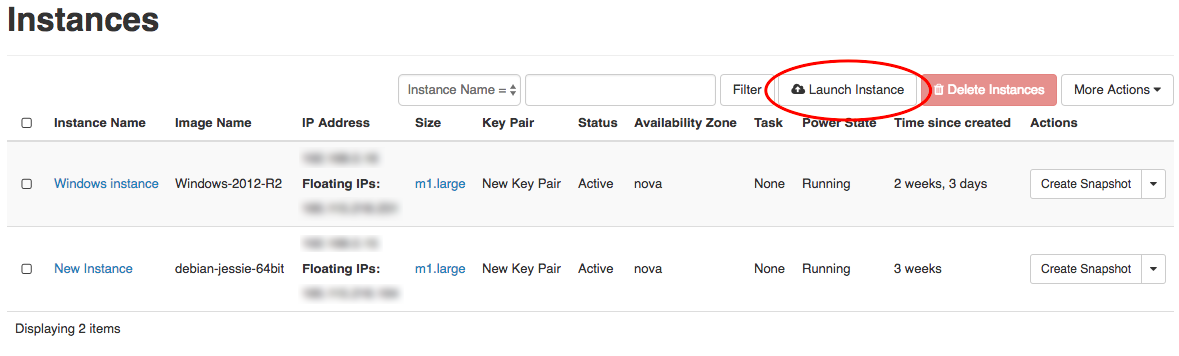
- Click on ‘Compute’ >> ‘Instances’ and then on ‘Launch Instance’.
 > ‘Instances’‘Compute’ >> ‘Instances’” width=”222″ height=”271″>
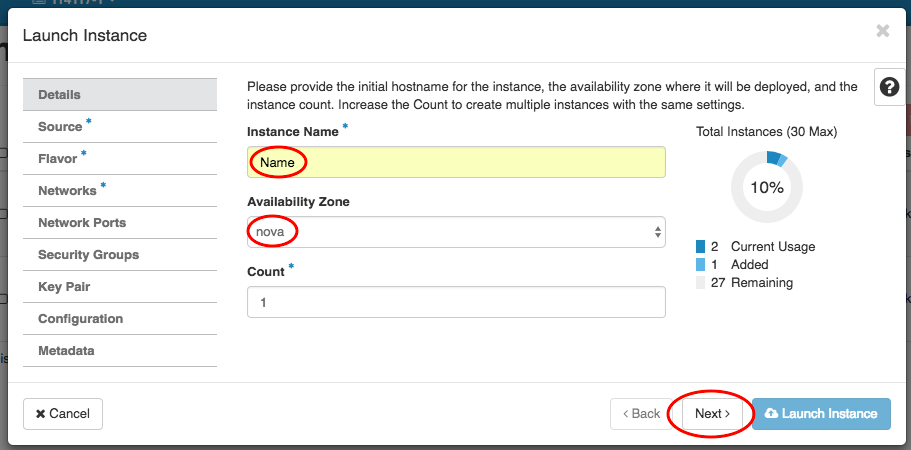
 Tip: In this section, whenever you only have one choice for your settings, it will be pre-selected for you. You do not need to click on it to add it.
- Select your zone and click on ‘Next’.
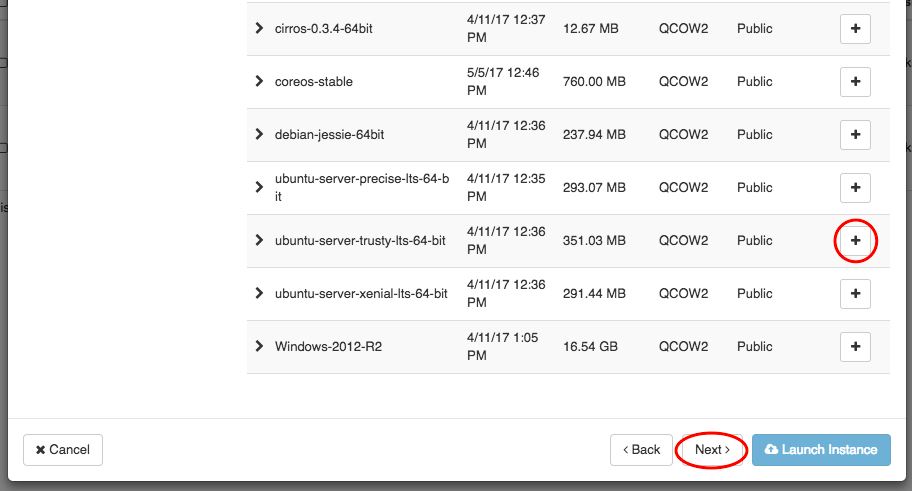
- You are now in the ‘Sources’ section. Select the Windows OS choice for your instance from the ‘arrow’ button and click on ‘Next’ again.
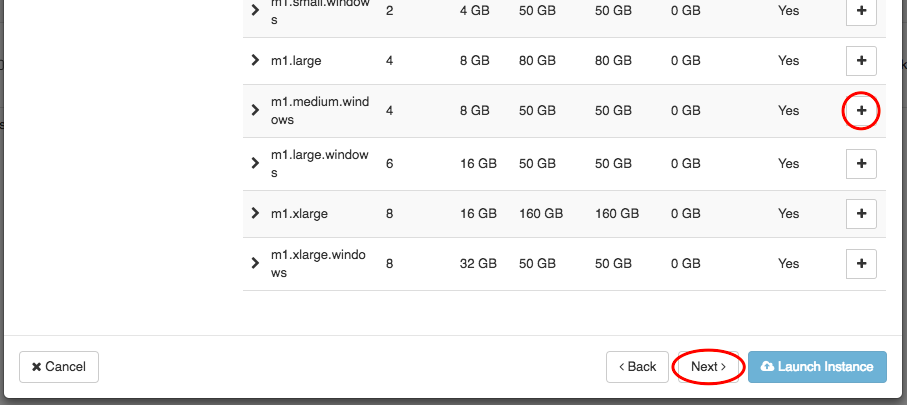
- In ‘Flavor’ you select the scale of the virtual machine. When you decide on the capacity you need, click on the ‘+’ button and then on ‘Next’ again.
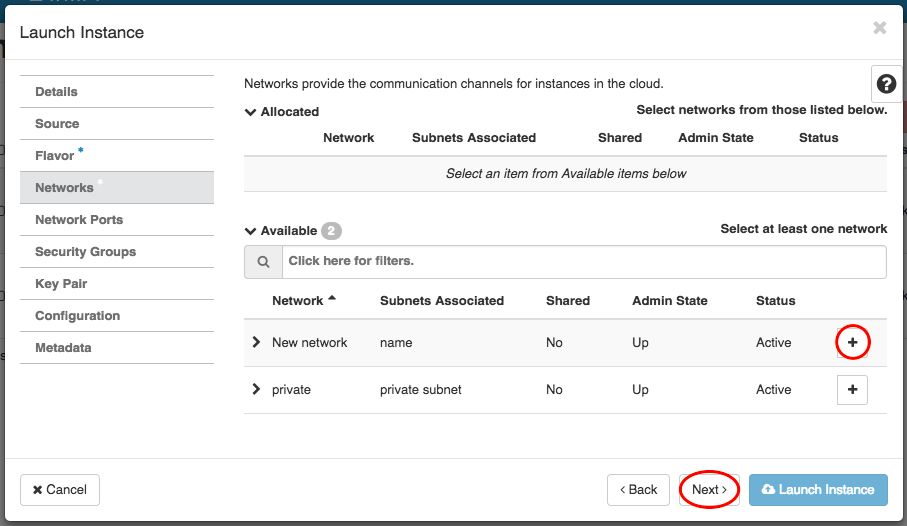
- In ‘Networks’ select your default Private network.
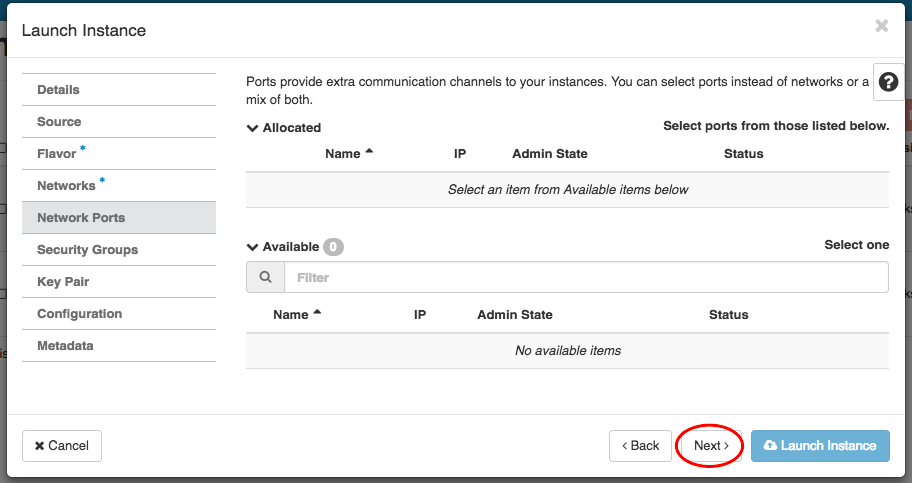
- In ‘Network Ports’ you can associate an IP address with a port.
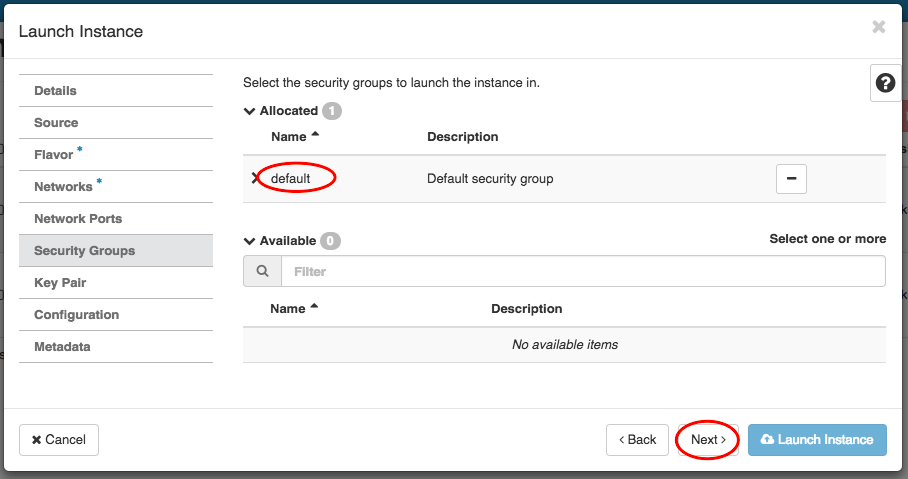
- In ‘Security groups’ you can manage the group of filter rules applied to the instance. We have already prepared by adding Port 80 to the Default security group.
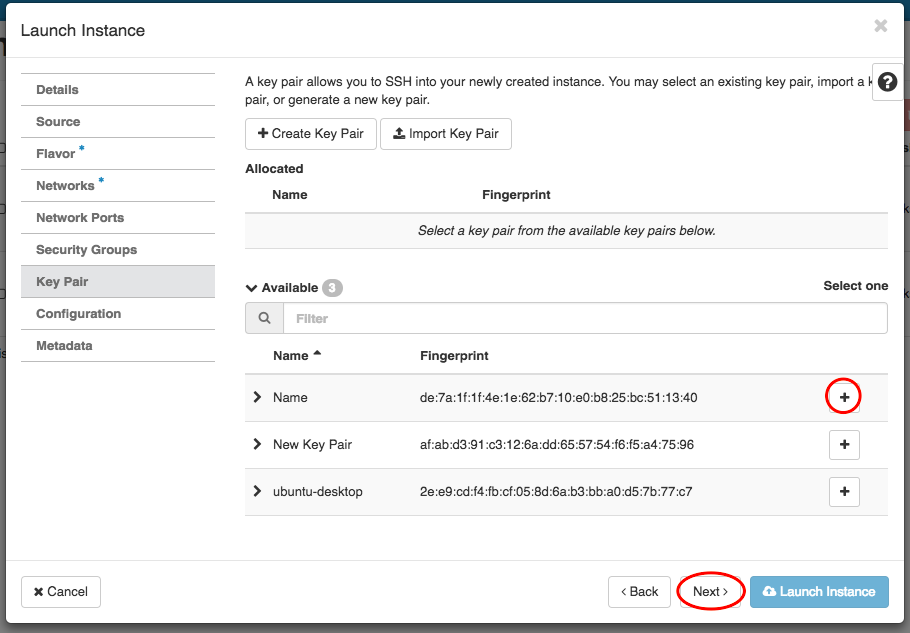
- In ‘Key Pairs’ make sure the key pair you want to use is under ‘Allocated’ and not under ‘Available’.
- In ‘Configuration’ you can keep the default settings. OR you can enter a customization script to run after your instance has been launched.

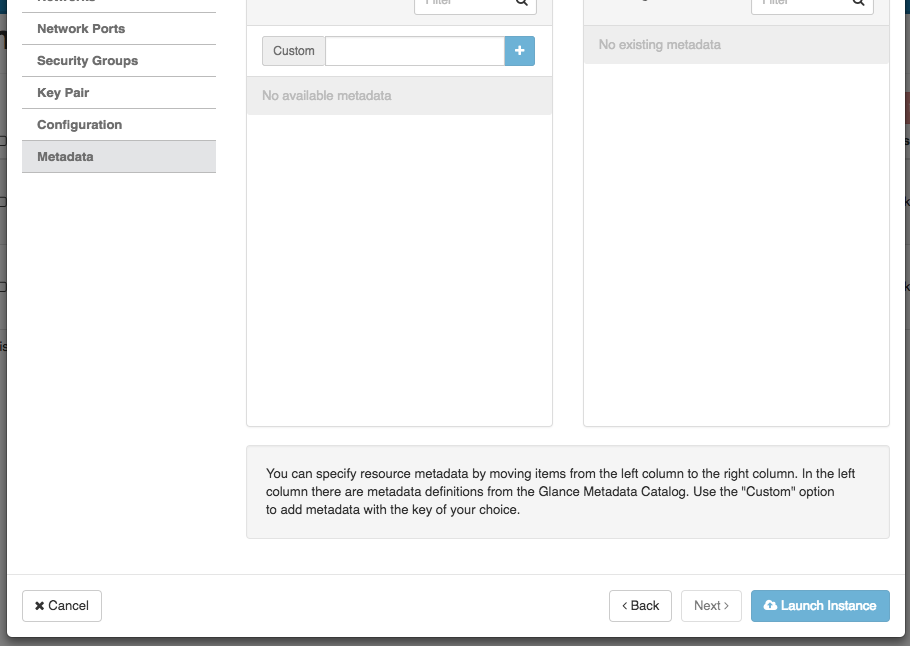
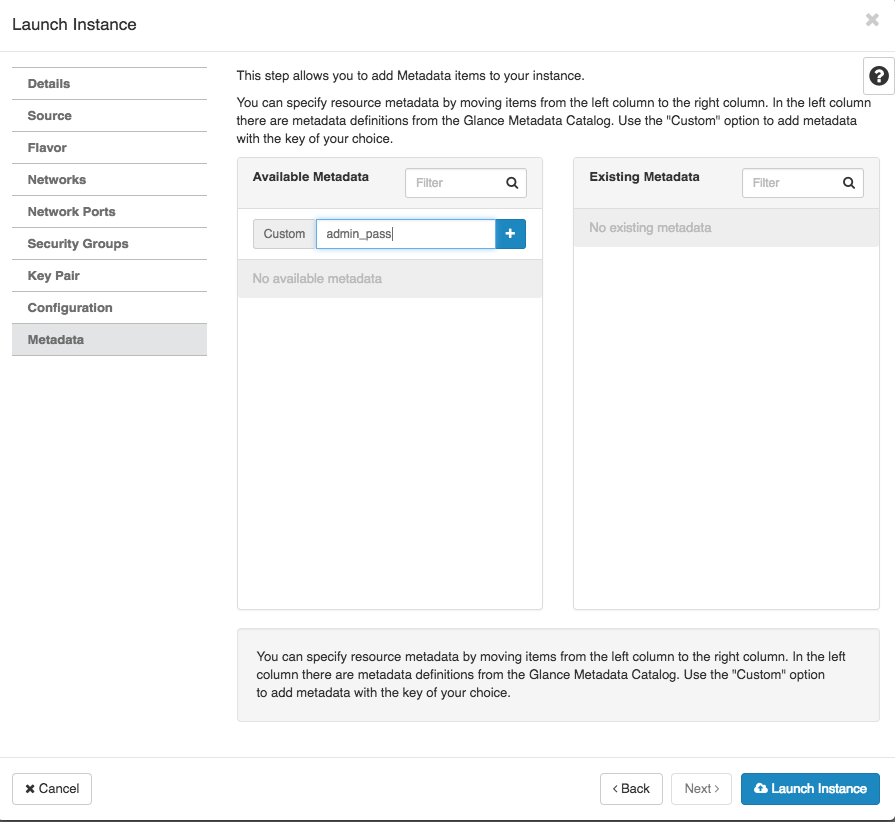
- In ‘Metadata’ you have to assign an administrator password, which will allow you to connect to your new instance via your console or via Remote Desktop.
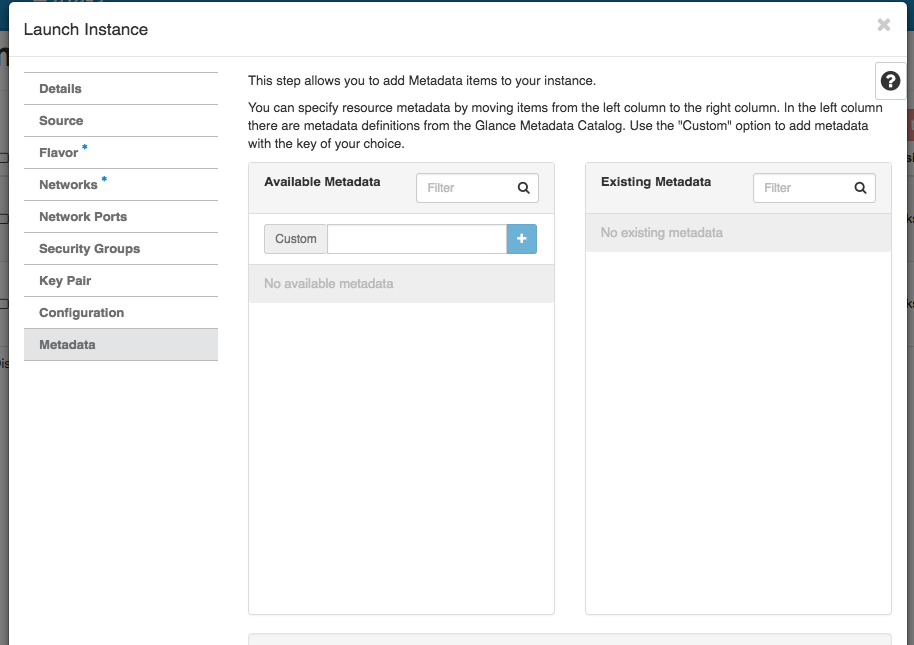
- In the left field you have to create the metadata identifier for the password. Next to ‘Custom’ type in ‘admin_pass’ and click on the ‘+’ button.
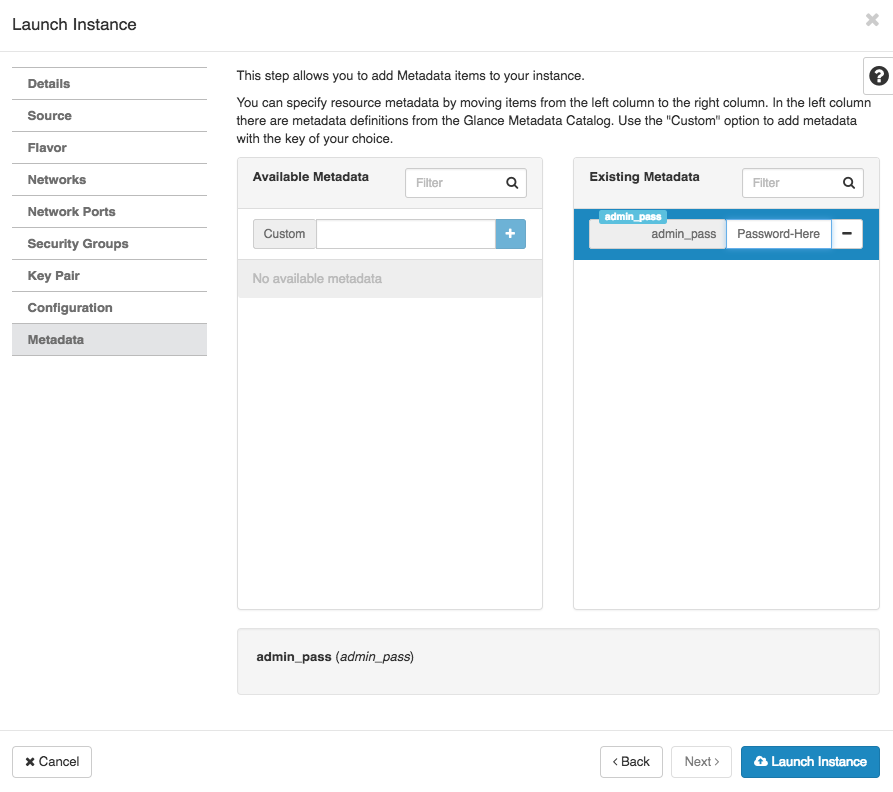
- Your ‘admin_pass’ identifier now appears to your right and you can create a value for it. The value you type in here will be your administrator password. Make sure you type in a strong password and click on ‘Launch Instance’. Give it a minute to process and your instance is ready for work.
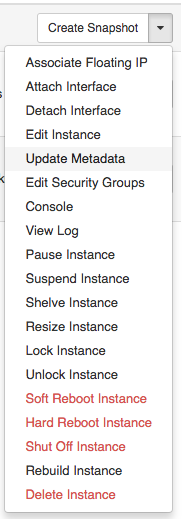
 Tip: If you have missed adding the password in your metadata during the launch of your instance, you can also add it afterwards. Simply follow ‘Compute’ >> ‘Instances’. Then click on the arrow to open the dropdown menu next to ‘Create Snapshot’ and click on ‘Update Metadata’ – here you can add the same identified. In this case updating the password may take a few minutes.
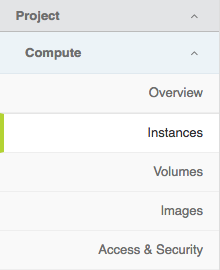 > ‘Instances’” width=”220″ height=”270″>
- Select your zone and click on ‘Next’.
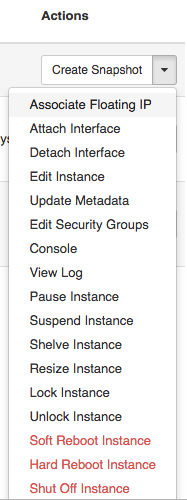
- Click on the arrow to open the dropdown menu next to ‘Create Snapshot’ and click on ‘Associate Floating IP’. Select the IP address you added in the last preparation step. Make sure you have a separate floating IP for each instance.
To access your instance you can connect via Remote Desktop.
FOR WINDOWS:
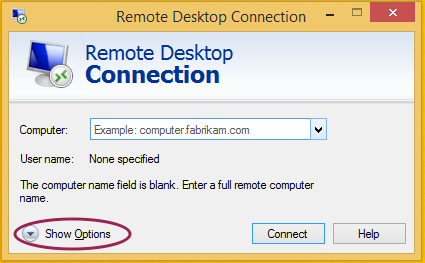
- Open your Remote Desktop Connection

- Make sure you click on ‘Show Options’ to expand all fields
- For ‘Computer’ type your Floating IP address
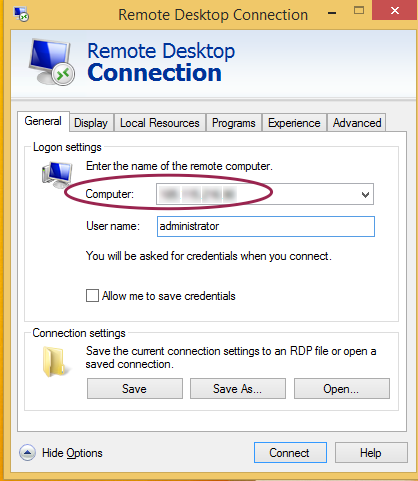
- For ‘User name’ type ‘administrator’
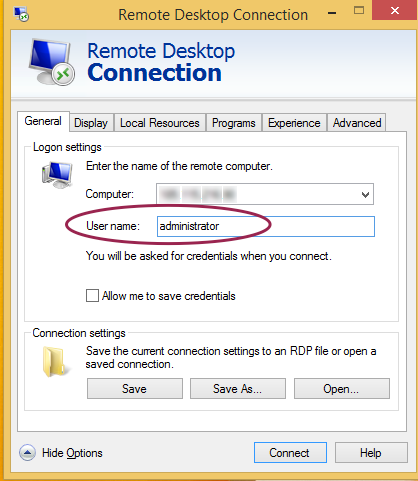
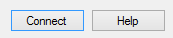
- Click on ‘Connect’
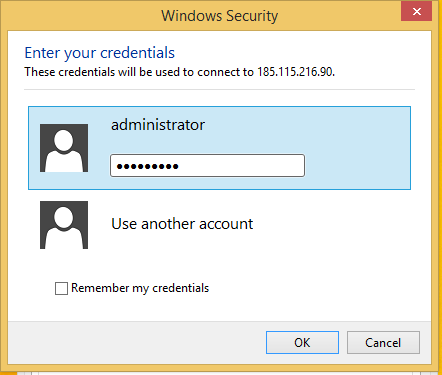
- You get a pop-up window that asks for the password. Type in the password you added in your Metadata.
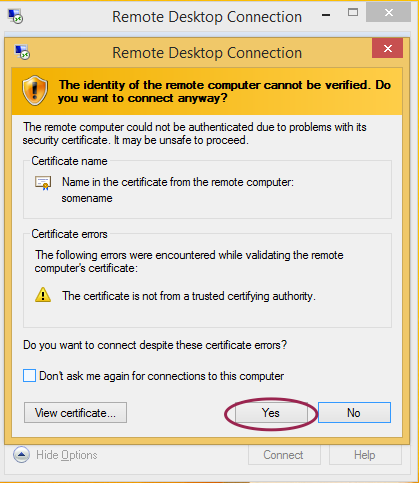
Tip: You may get a message the identity of the server is not verified. You can connect anyway. To proceed click on ‘Yes’.
FOR MAC:
- Make sure you have the Microsoft Remote Desktop app.
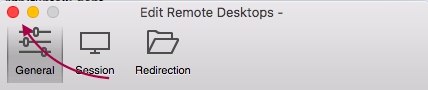
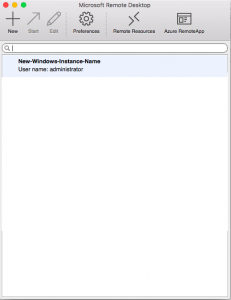
- Open your MRD app. Click on the ‘New’ button.

- For ‘Connection name’ type something that speaks to you.

- For ‘PC Name’ type in your floating IP address.

- For ‘User name’ type ‘administrator’.

- For ‘Password’ type in the password you added in your Metadata.

- Click on the ‘x’ at the top left to close the window.
- You will now see the setup in your MRD list. Double-click on that to connect.
Tip: You may get a message saying the identity of the certificate cannot verified. You can connect anyway. To proceed click on ‘Continue’.
727